Here are the slides I used for my class at Photoshop World... still doing some tweaking to make it flow better, but should be helpful for folks to figure out some of the sneaky stuff in Photography. Hover your mouse over most images for more info.

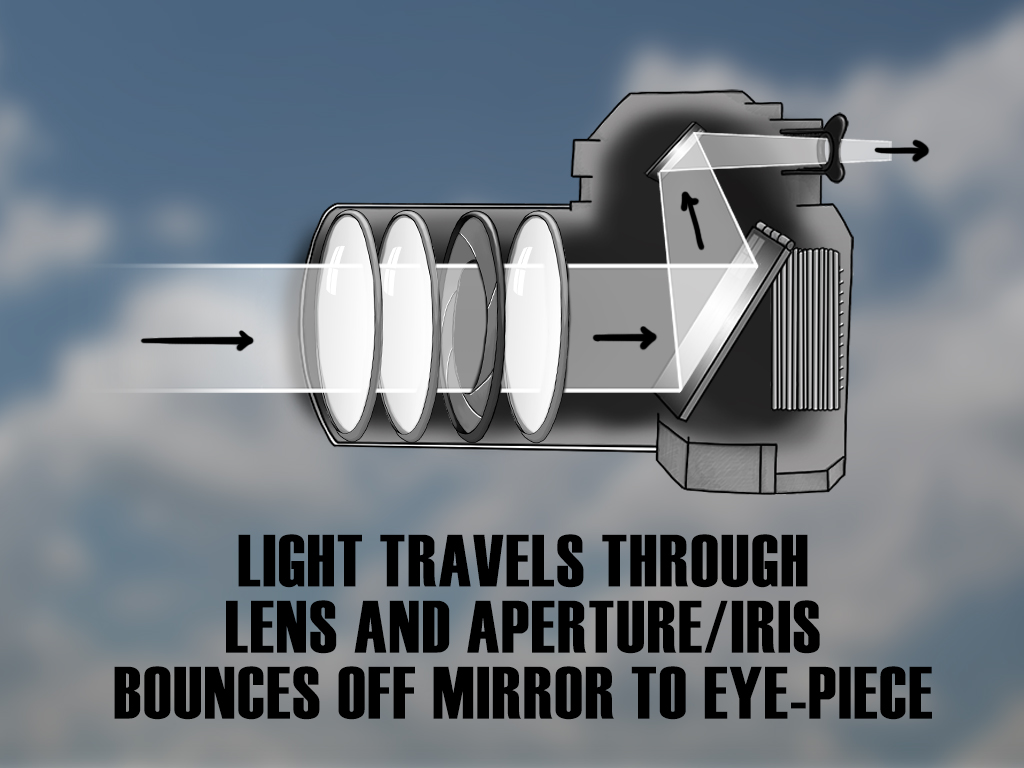
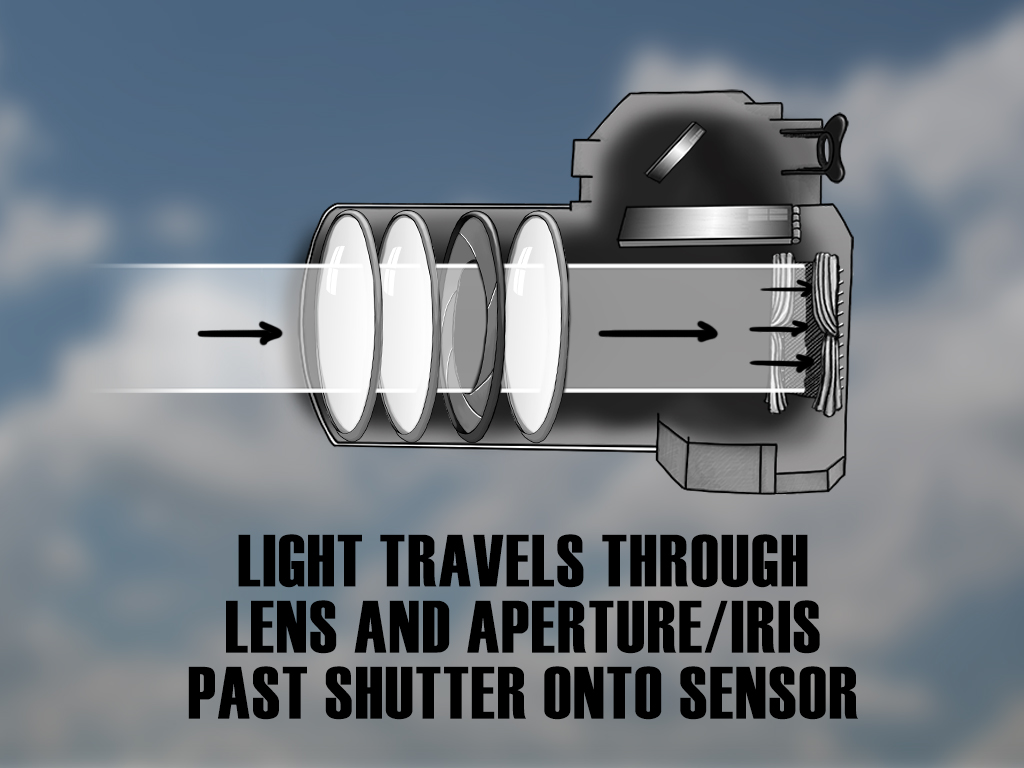
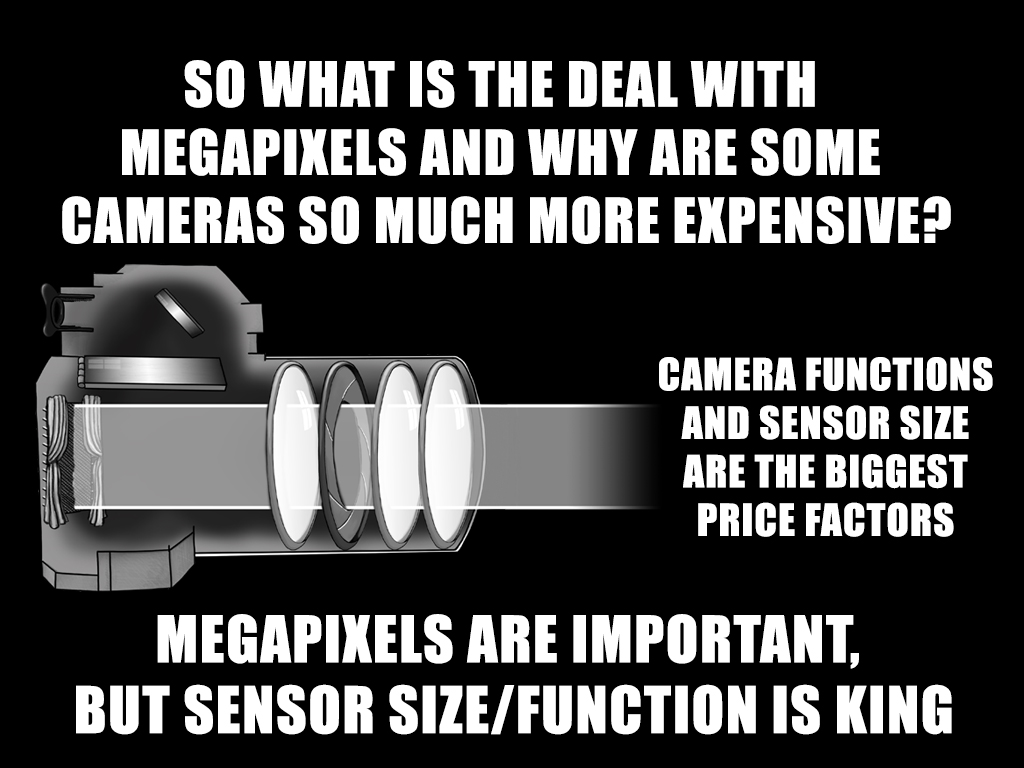
The quality of the camera is determined a lot by the quality and size of the sensor more so than just by the number of megapixels.
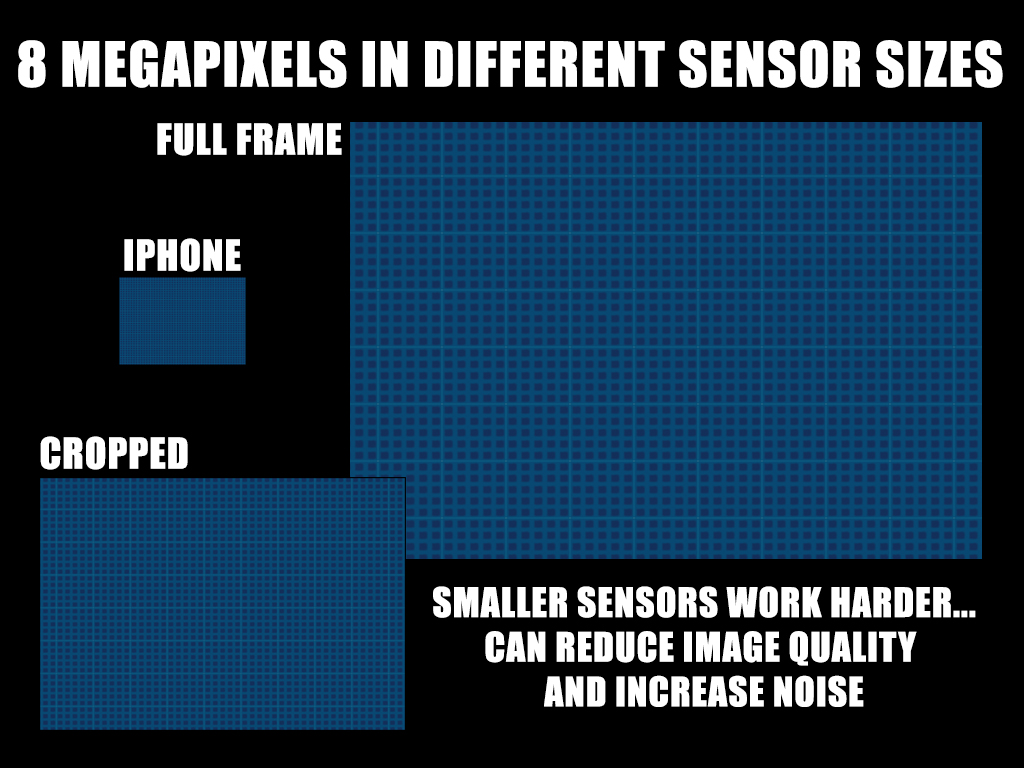
Megapixel count is only part of the equation... sensor size will affect how crammed those pixels which affects image and noise.
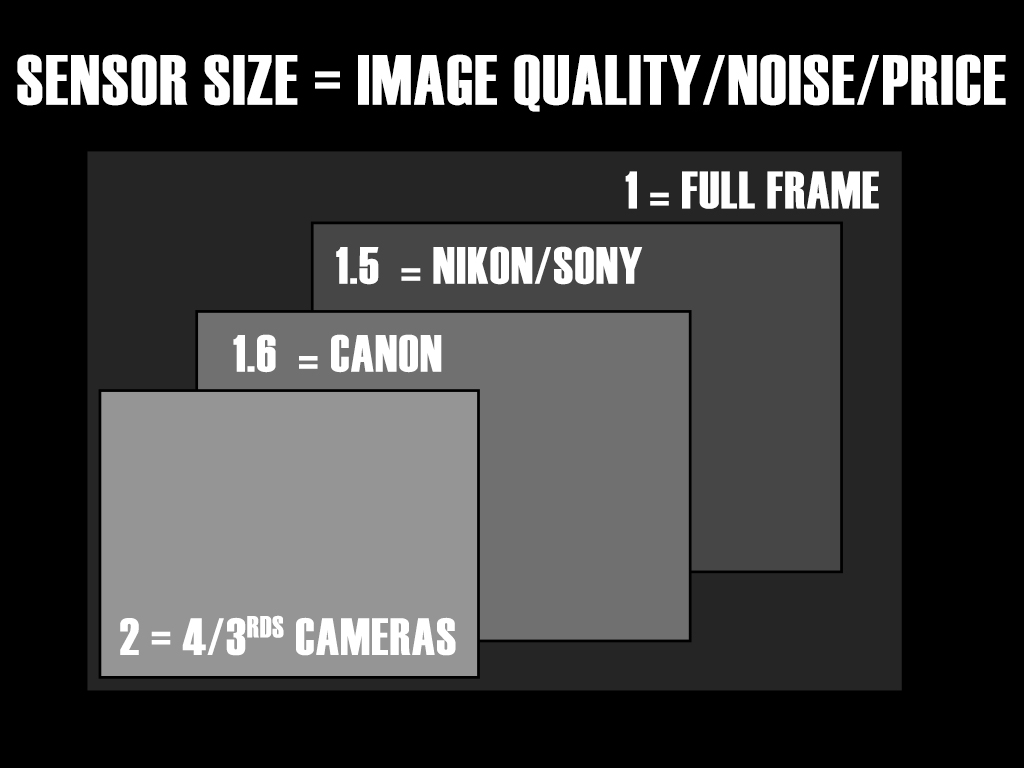
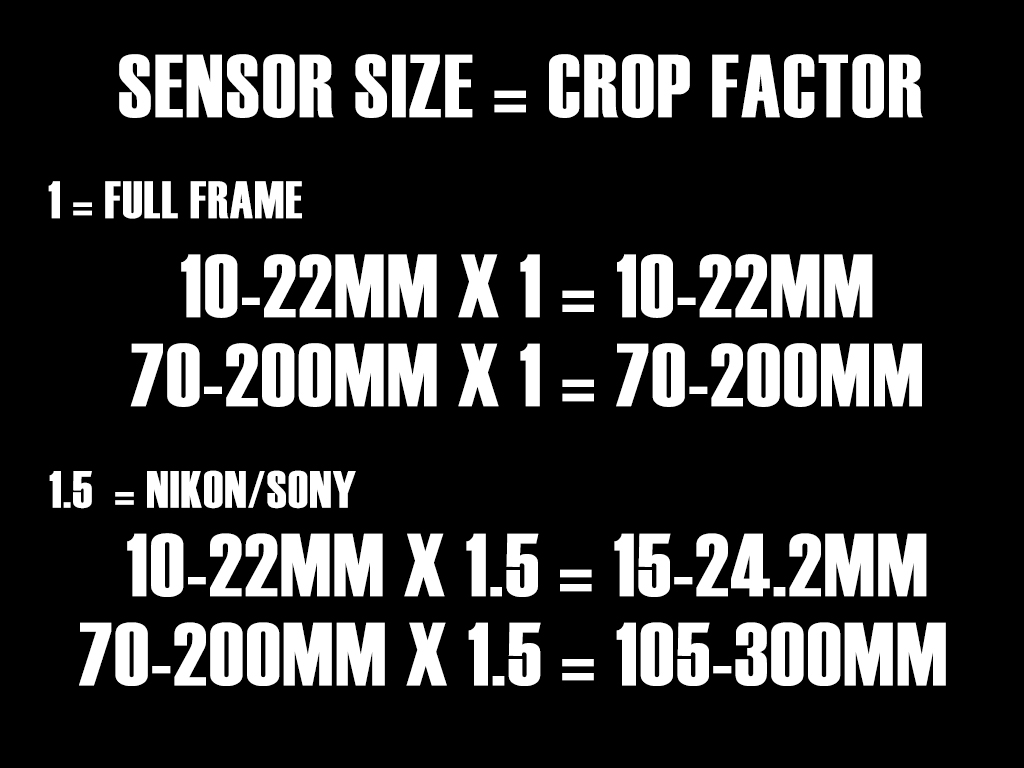
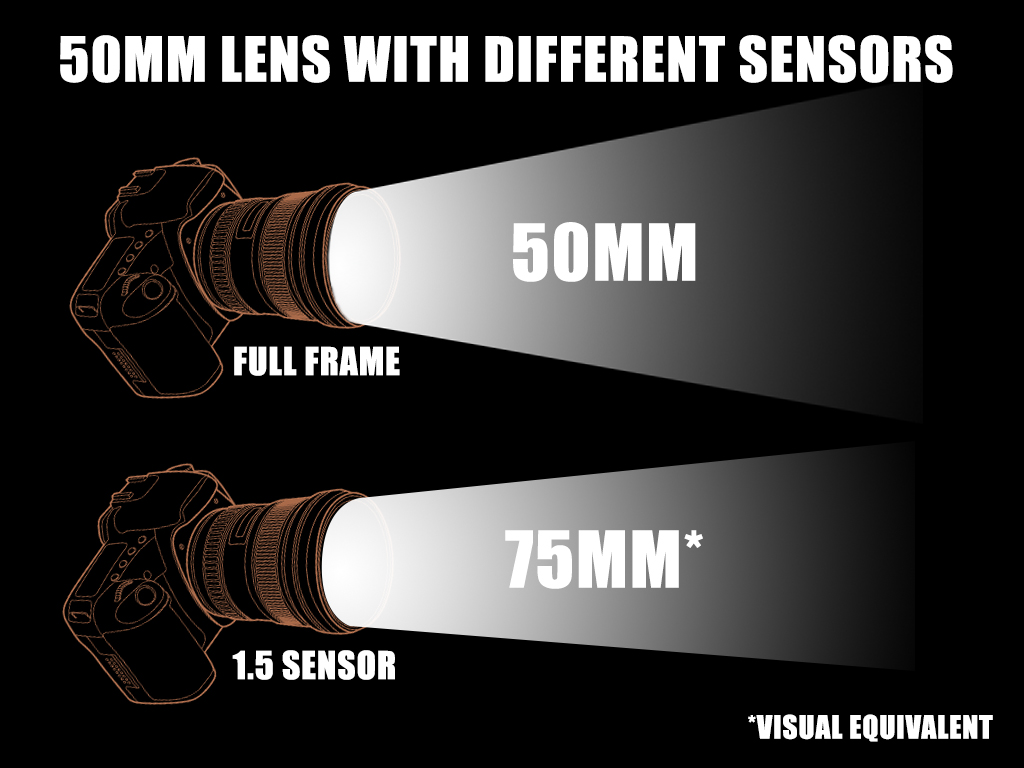
The sensor size will affect the zoom of a lens. Full frame doesn't add anything, but cropped sensors in essence zoom in by their crop factor.
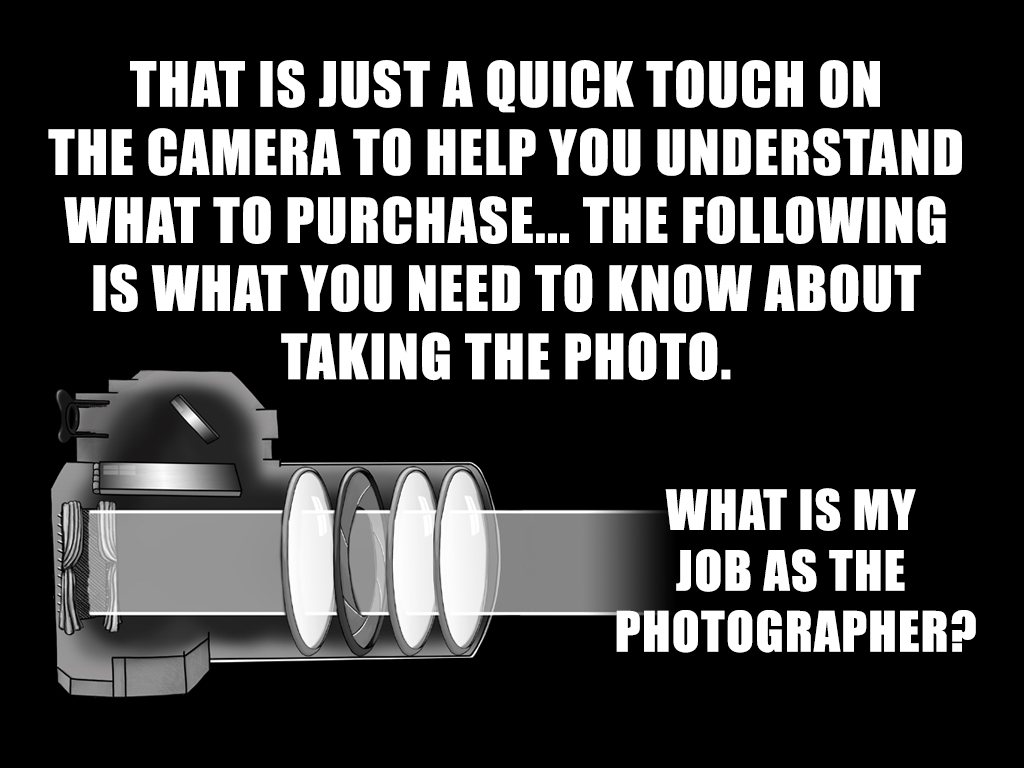
What do you do once you buy a camera? What do you need to think for?

A photographer has to observe the scene and choose the options/settings to get the look that they want.
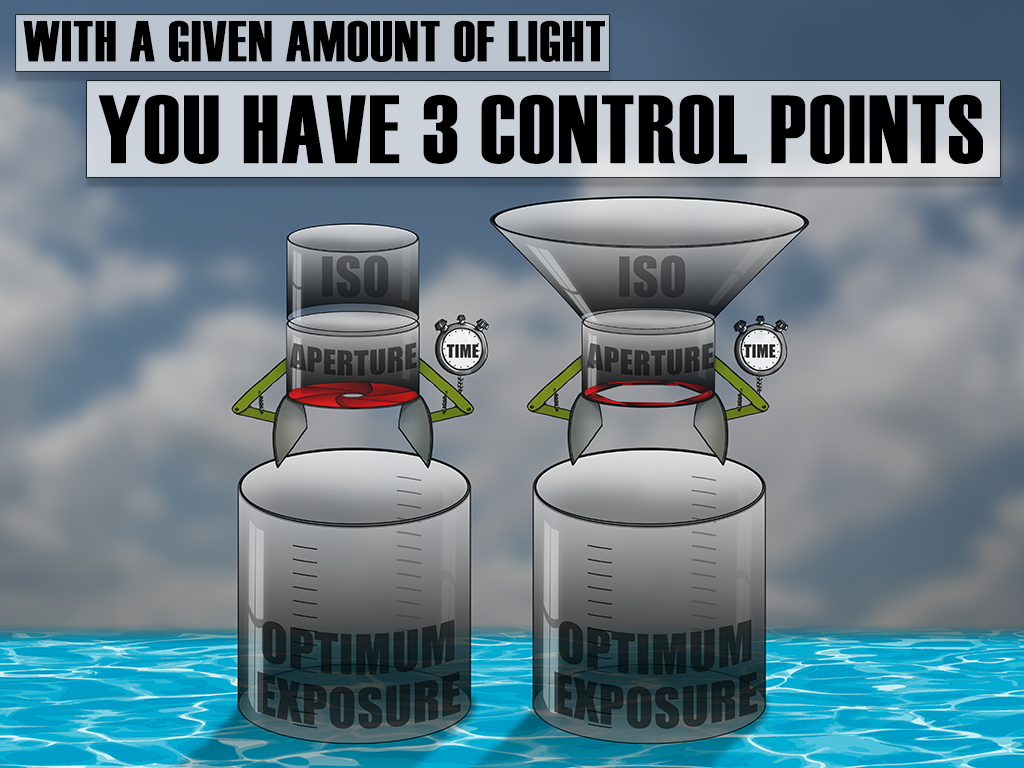
After figuring out ISO, you really only have two... which makes it much easier.

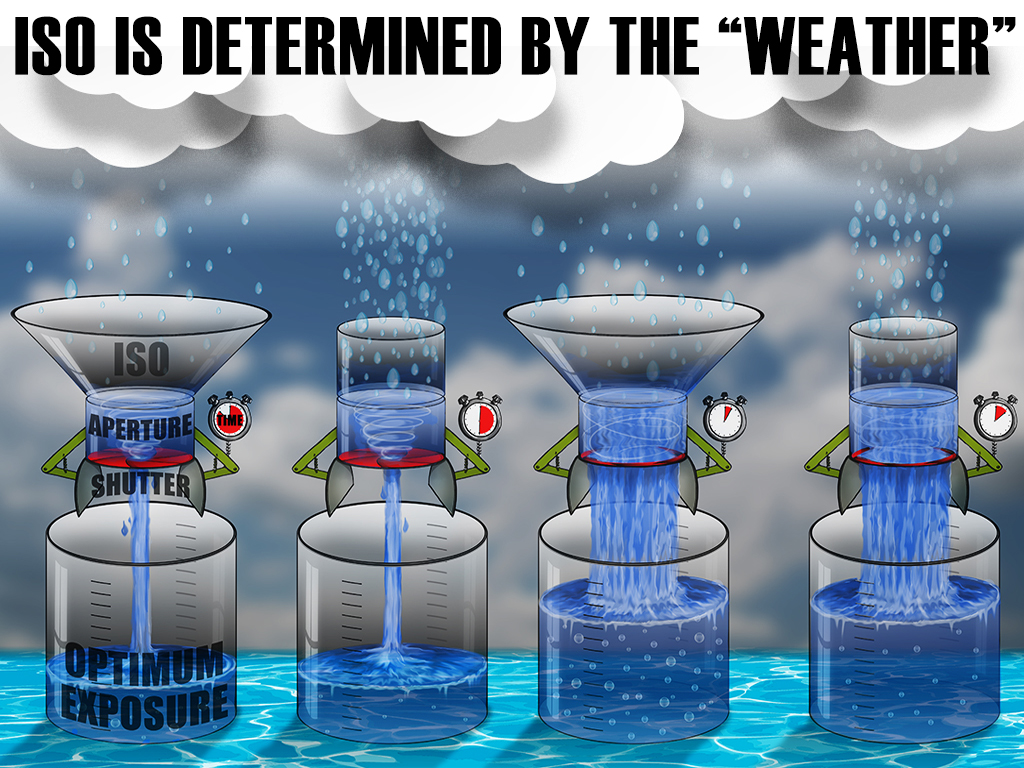
You want to use the lowest ISO that you can, but it is better to have a higher ISO and good shot, than to miss the shot because you are worried about noise.
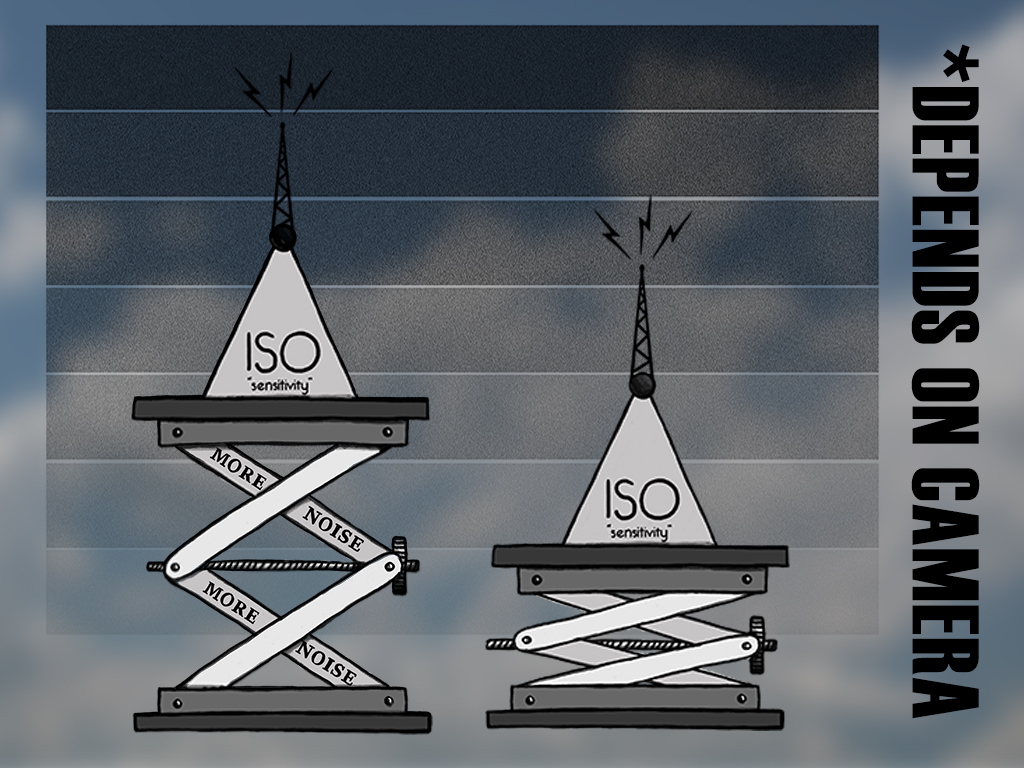
The darker the scene the higher the iso you may need. Cameras that handle high ISO are usually more expensive.
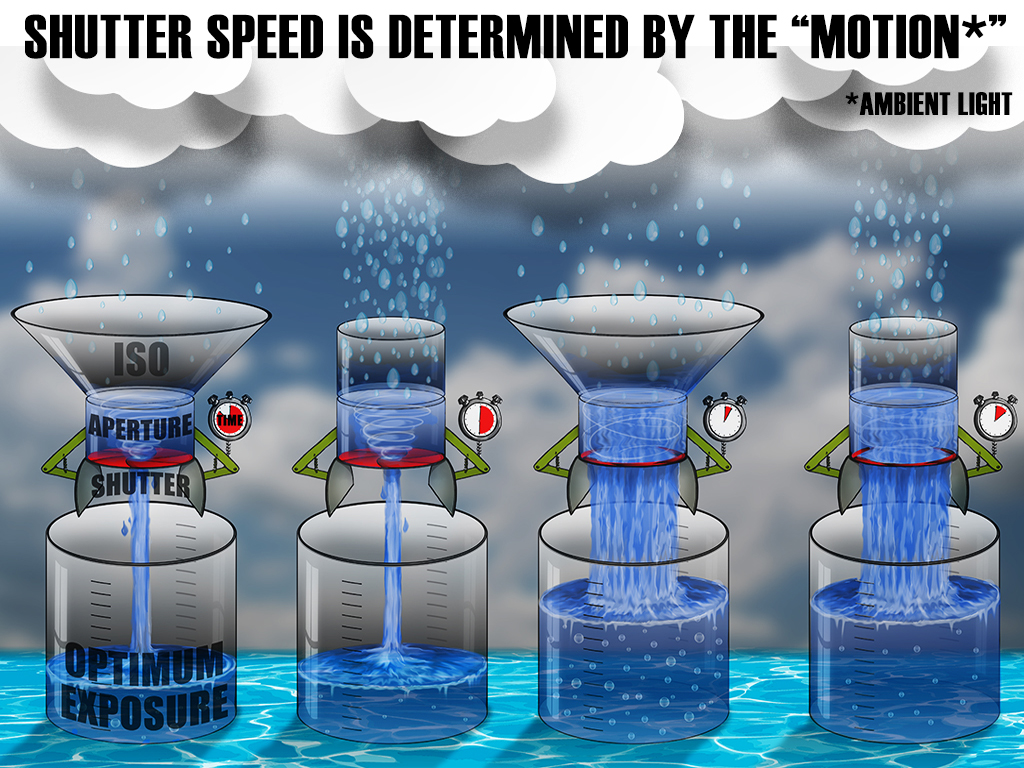
You need to determine if you want to show or freeze motion
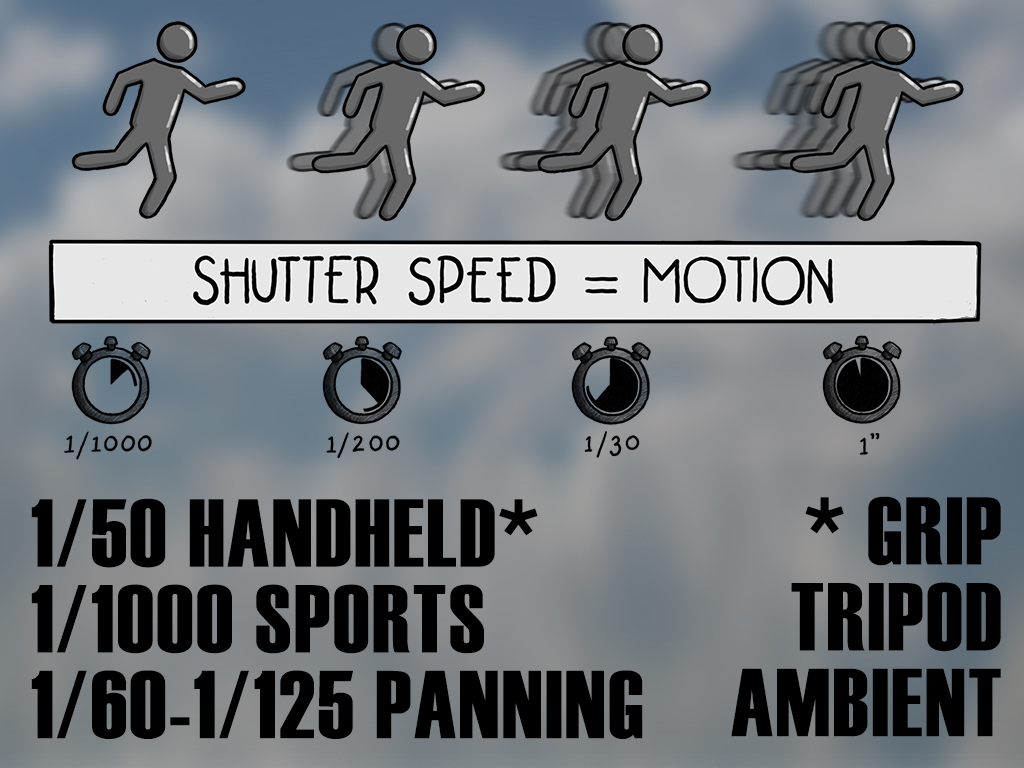
A couple of average speeds to try, the grip you use or tripod can make a difference
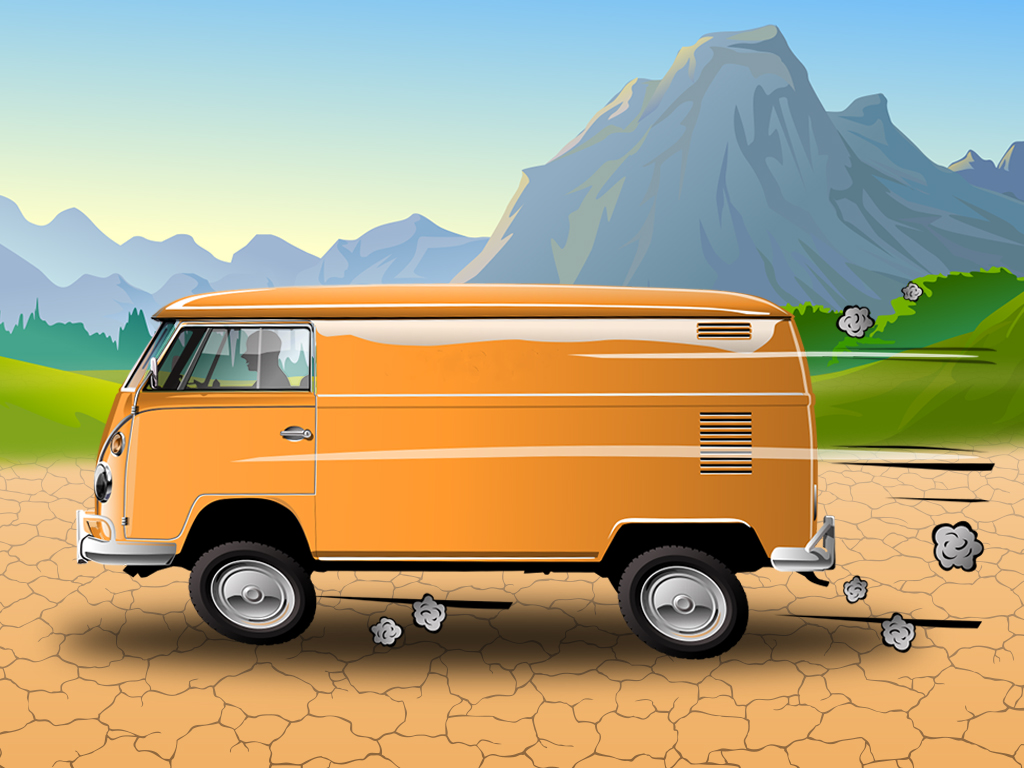
Moving van during day... you have to chose what you want to show.
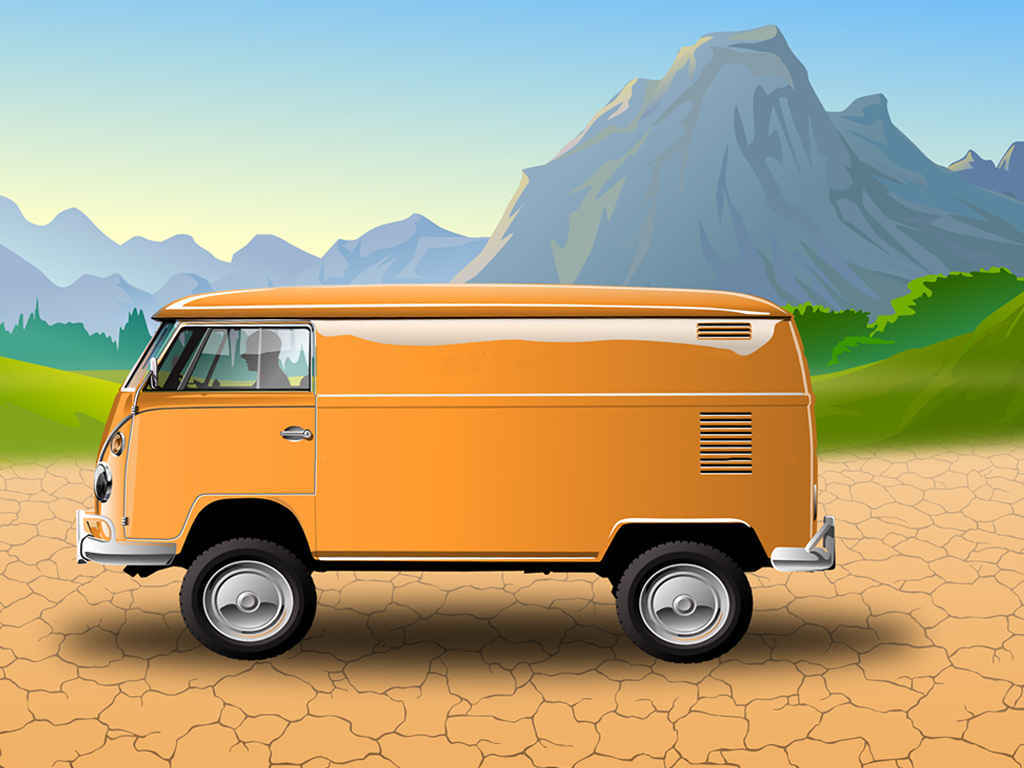
Using a fast shutter speed you can make the moving van look frozen.
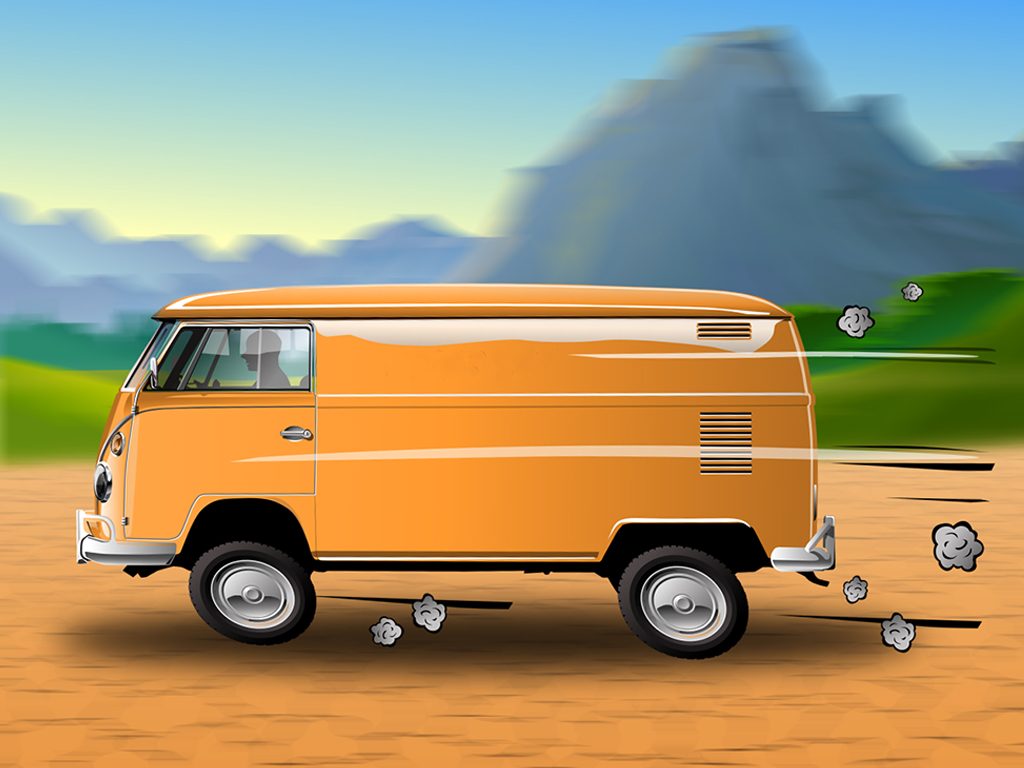
A slower shutter speed and panning with the van will blur the background and convey the sense of motion.
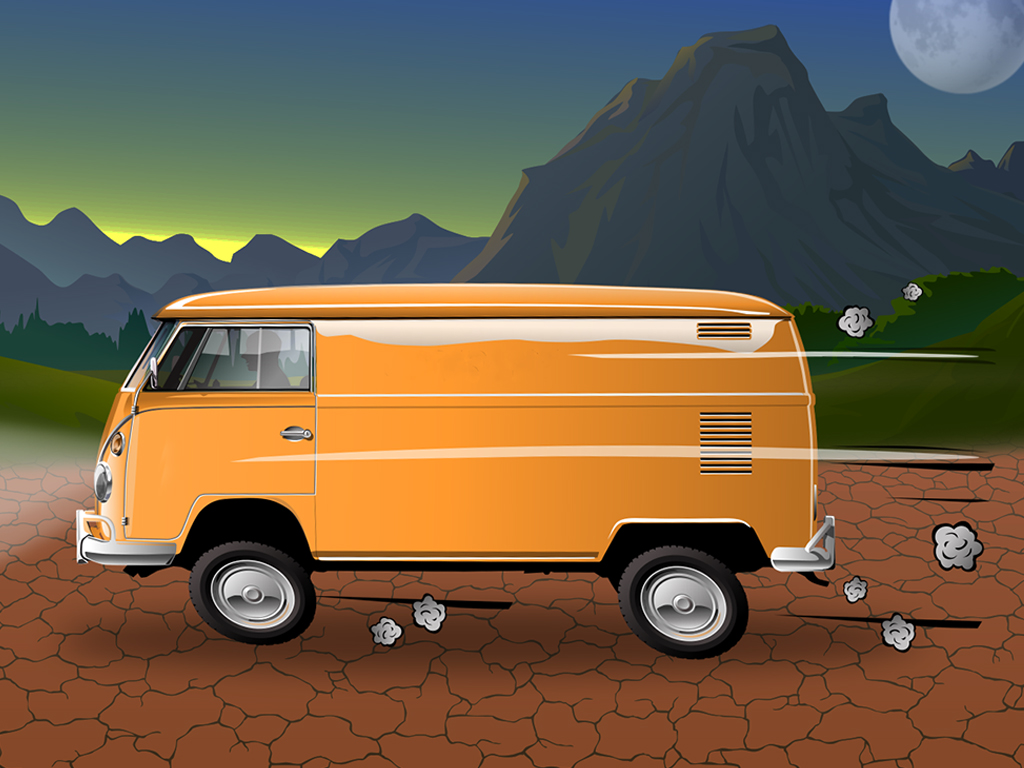
Ambient light will determine the limits of what you can do and the shutter speed you can use.
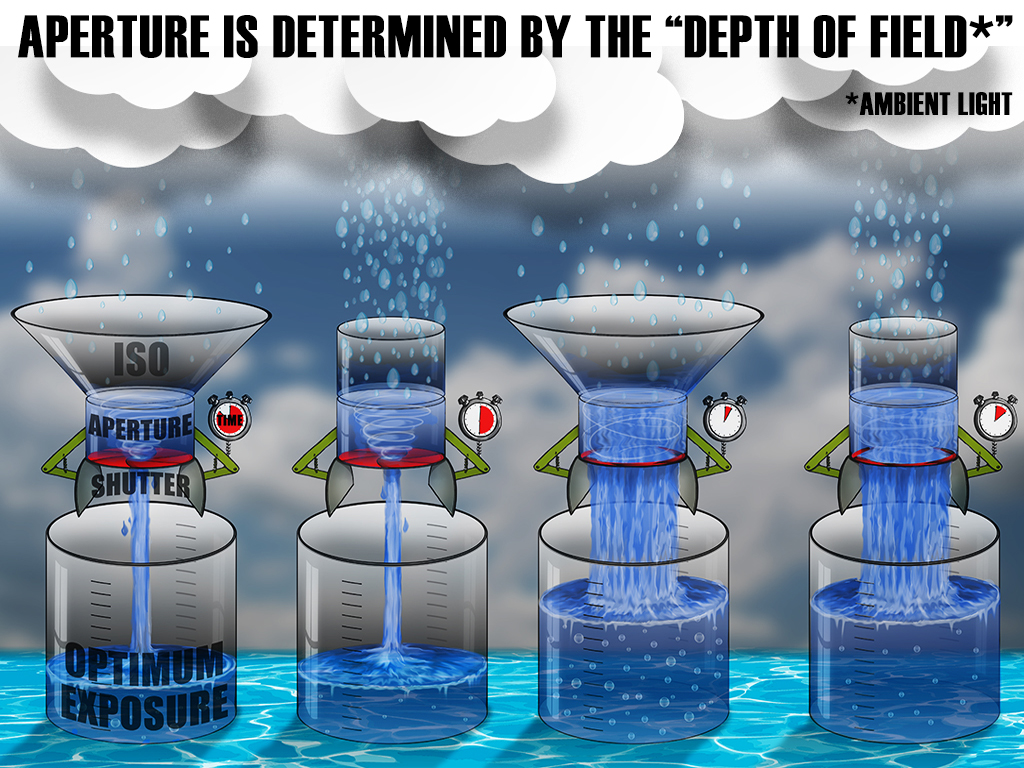
The Aperture setting will determine the DOF (Depth of Field). This will determine the "look" of your image.
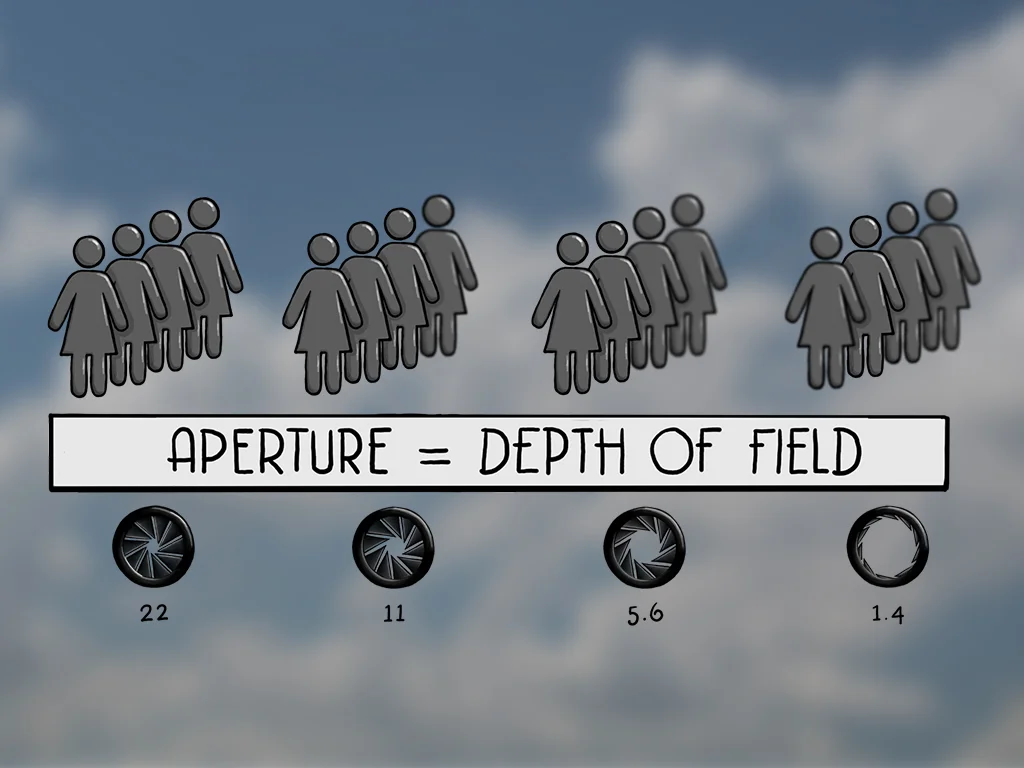
The lower the number the lower number of things in focus. (Shallower depth of field)
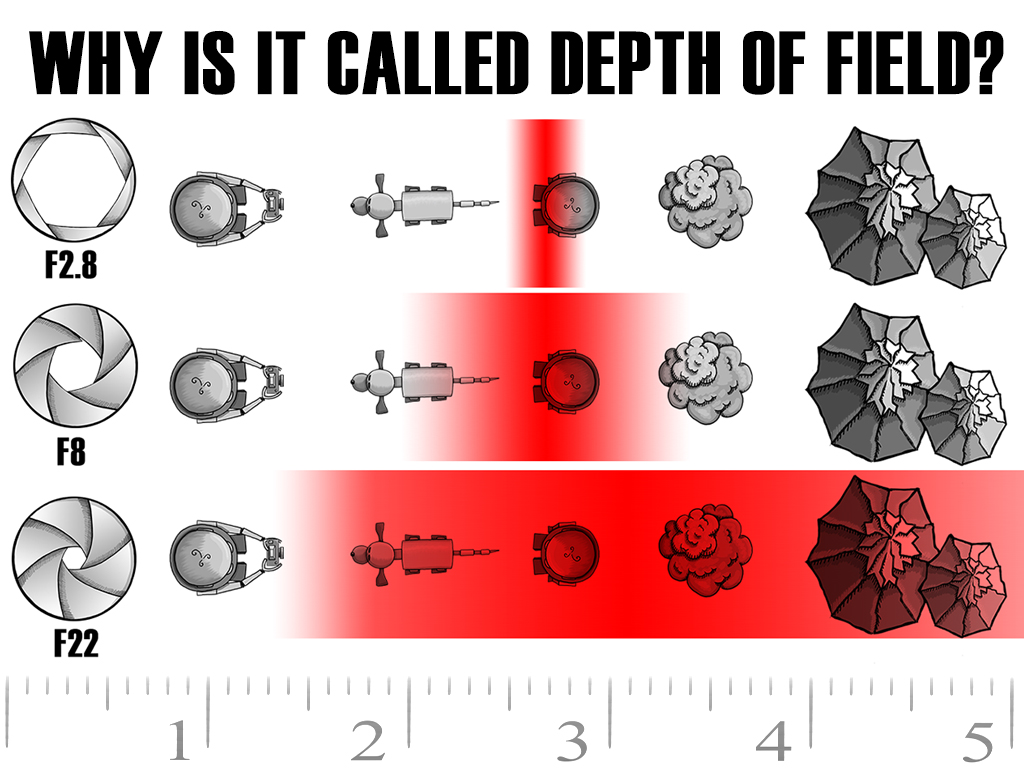
Seen from above... the red represents the area of focus. (What is in focus with the gradual fade into blurriness.)
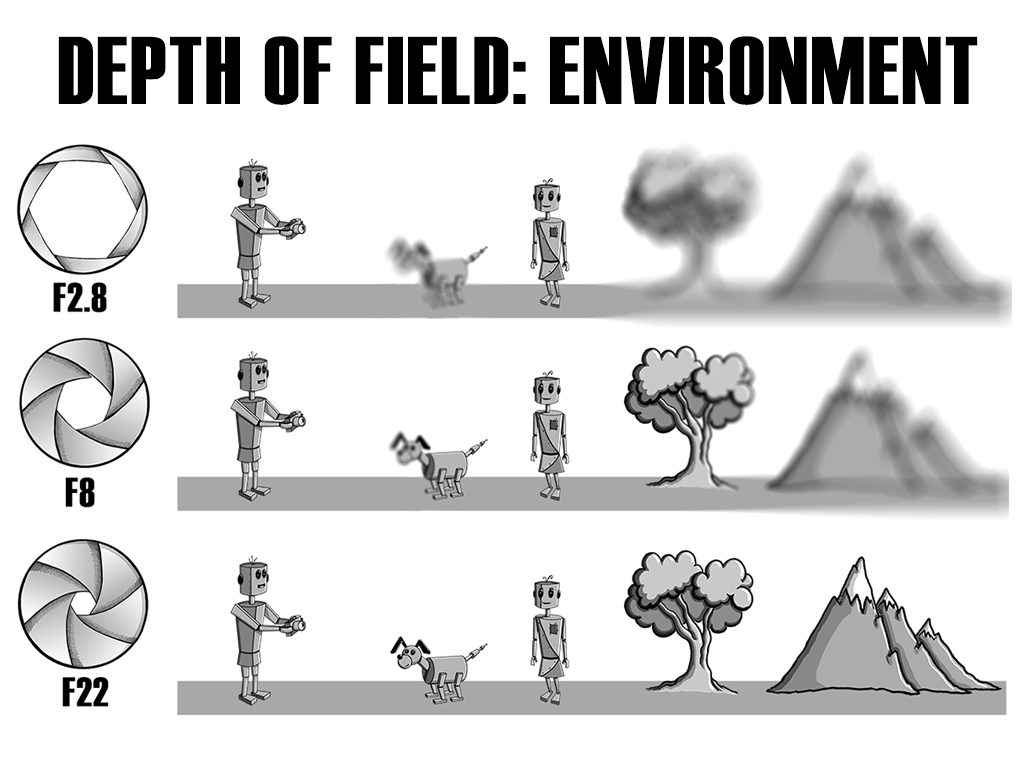
So changing the aperture will determine what is seen in your picture. For a creamy blurry background use a small number
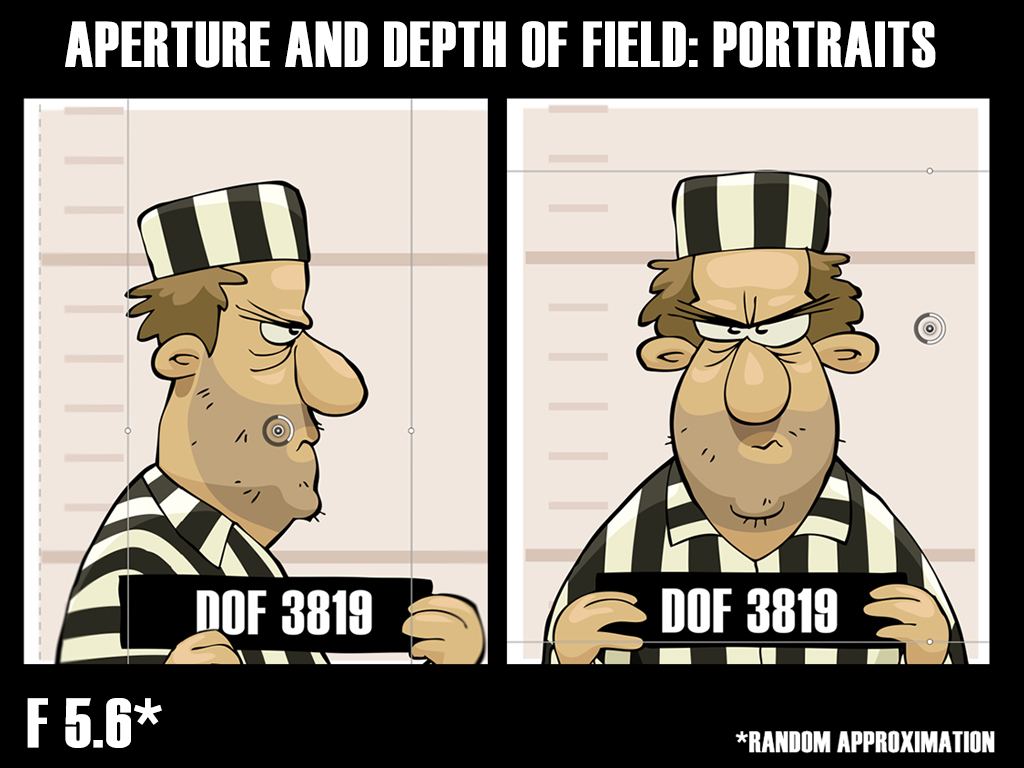
A rough example of how this works when taking portraits. Higher numbers = more in focus
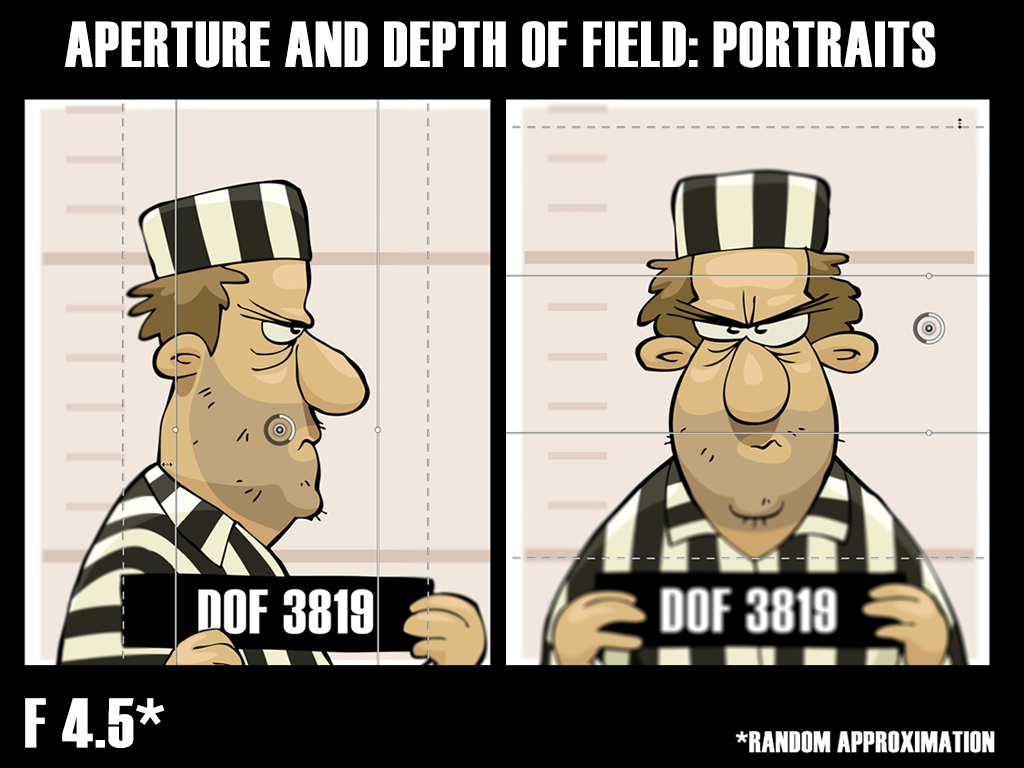
DOF is getting a little narrower
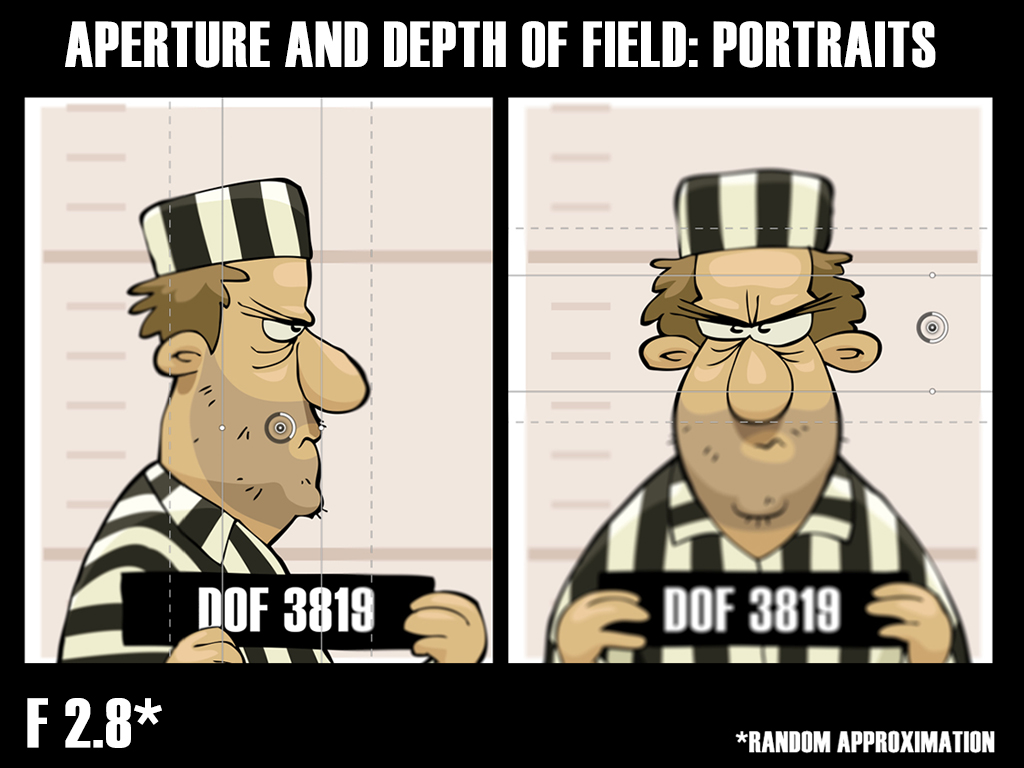
The wall and part of his body/ears may begin to go out of focus.
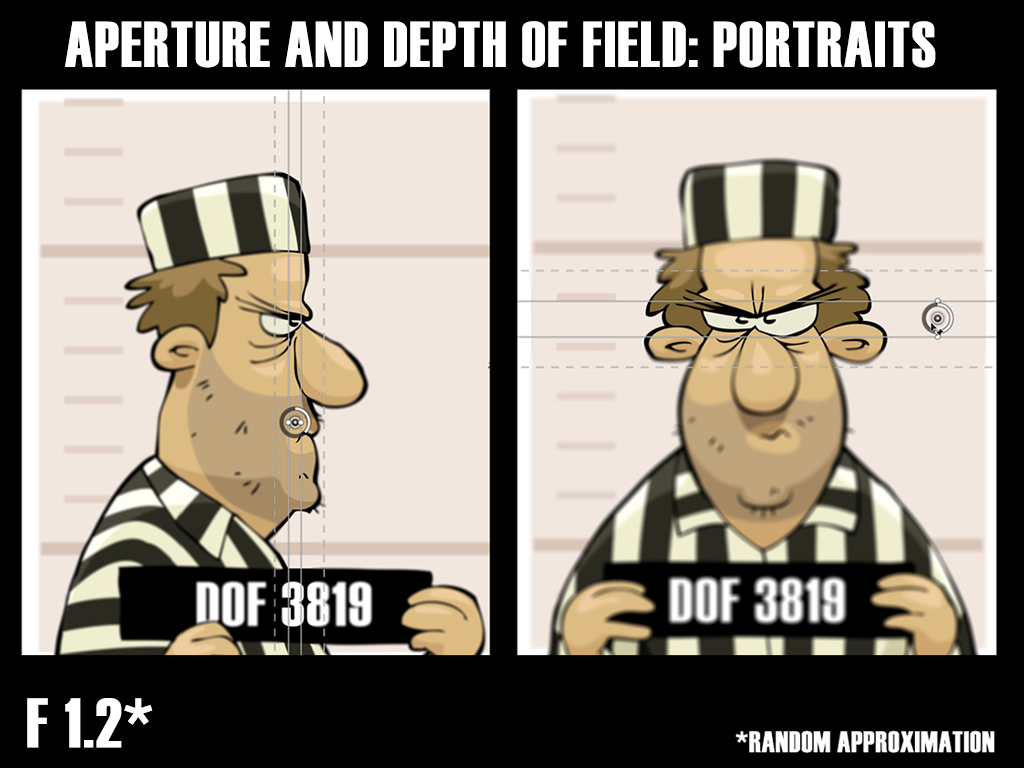
With a really small aperture you have to make sure the eyes are in focus since it is so narrow. You could accidently focus on the nose and miss the eyes.
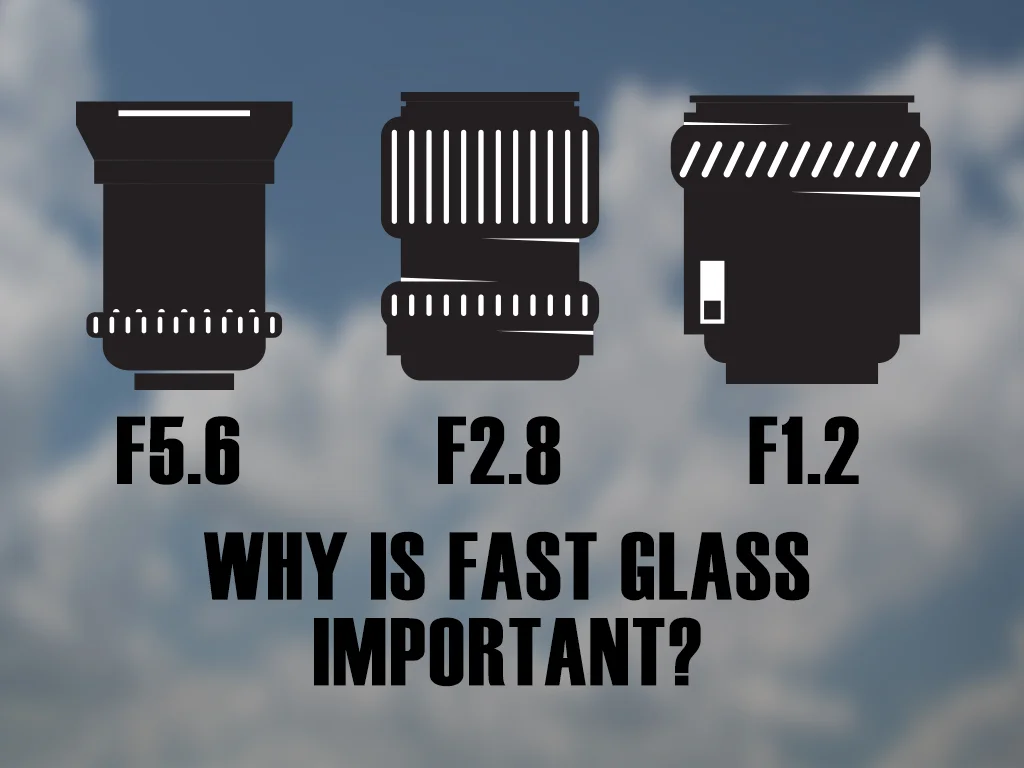
Lenses with a low aperture... 2.8 and lower are called fast glass because the let in a lot of light quickly. You pay for the speed/aperture.
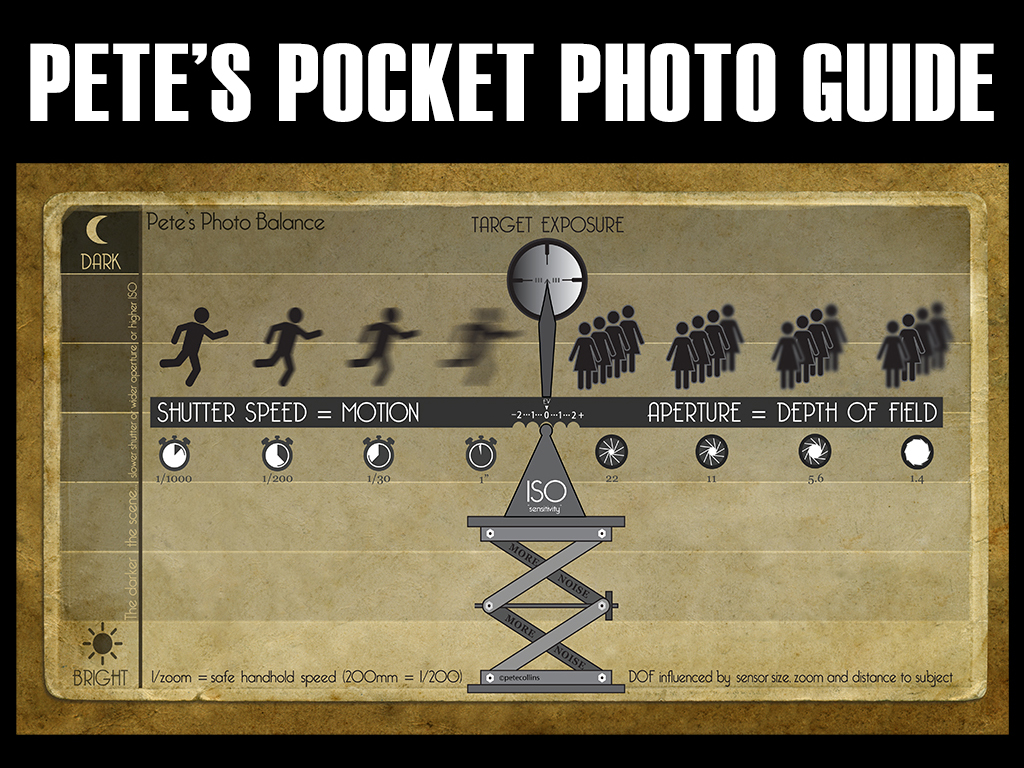
Here is an illustration to show how each one works in conjunction with the others. You determine the look. Whatever direction you move on one side, you have to balance on the other.
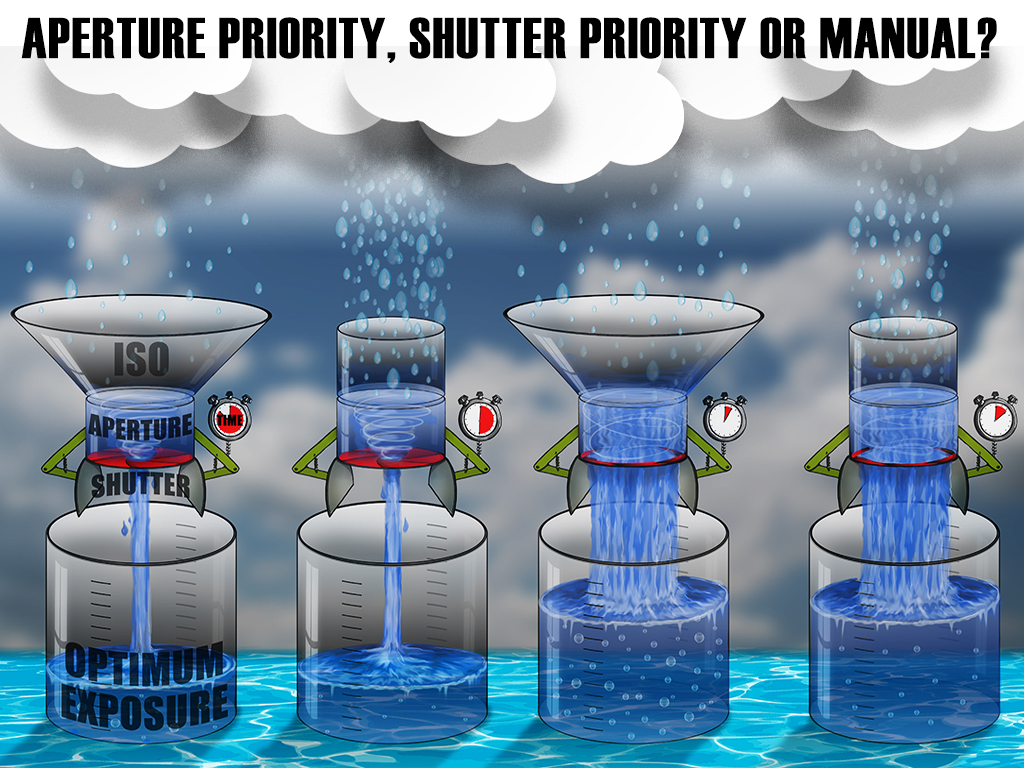
What is the best mode? Each one is great, but you need to determine what is most important in the shot and how you will get there. Manual makes you figure everything out, where the other two get help from the camera... which isn't a bad thing most of the time.
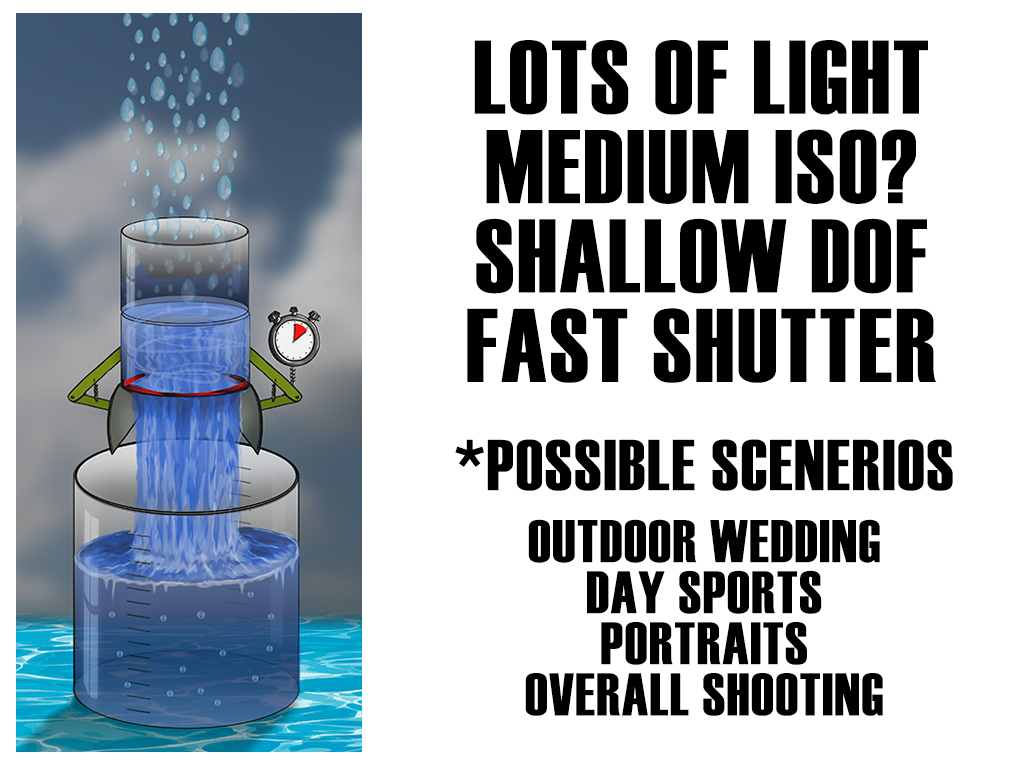
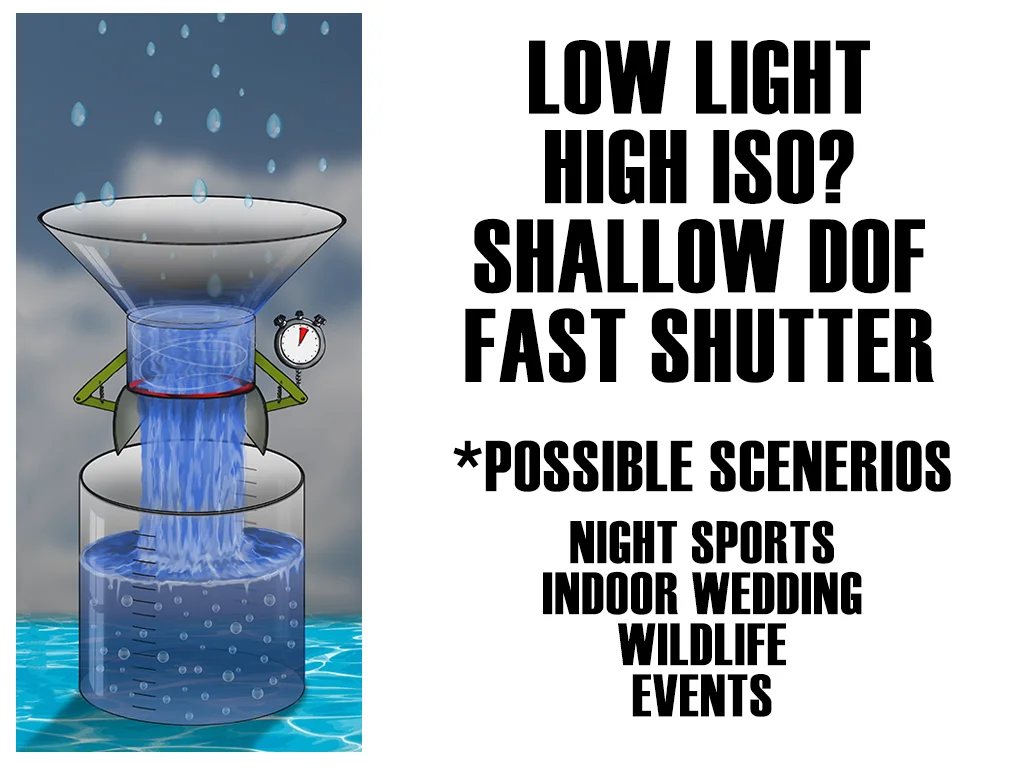
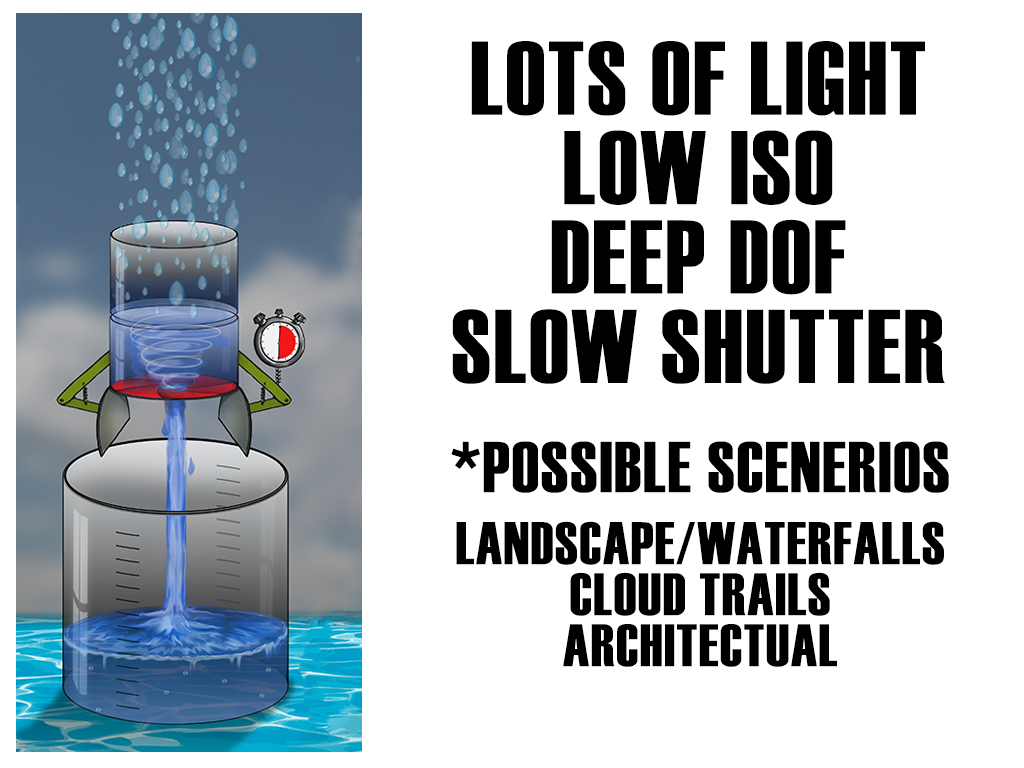
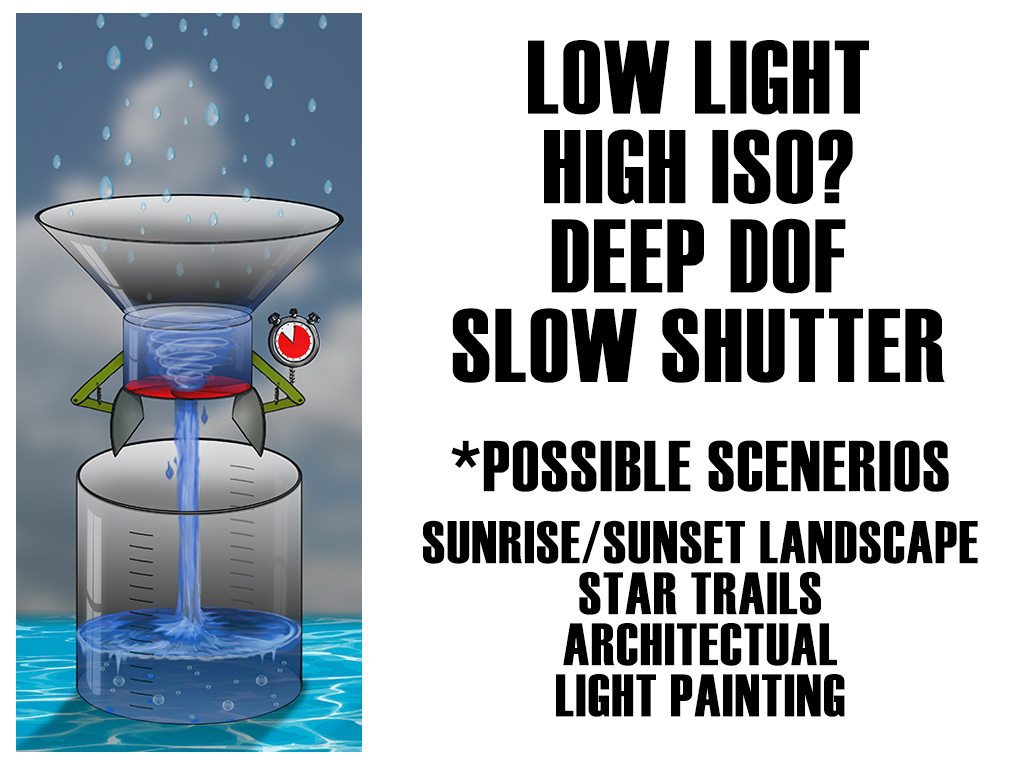
The main problem most folks run into is out of focus images or bad exposure.
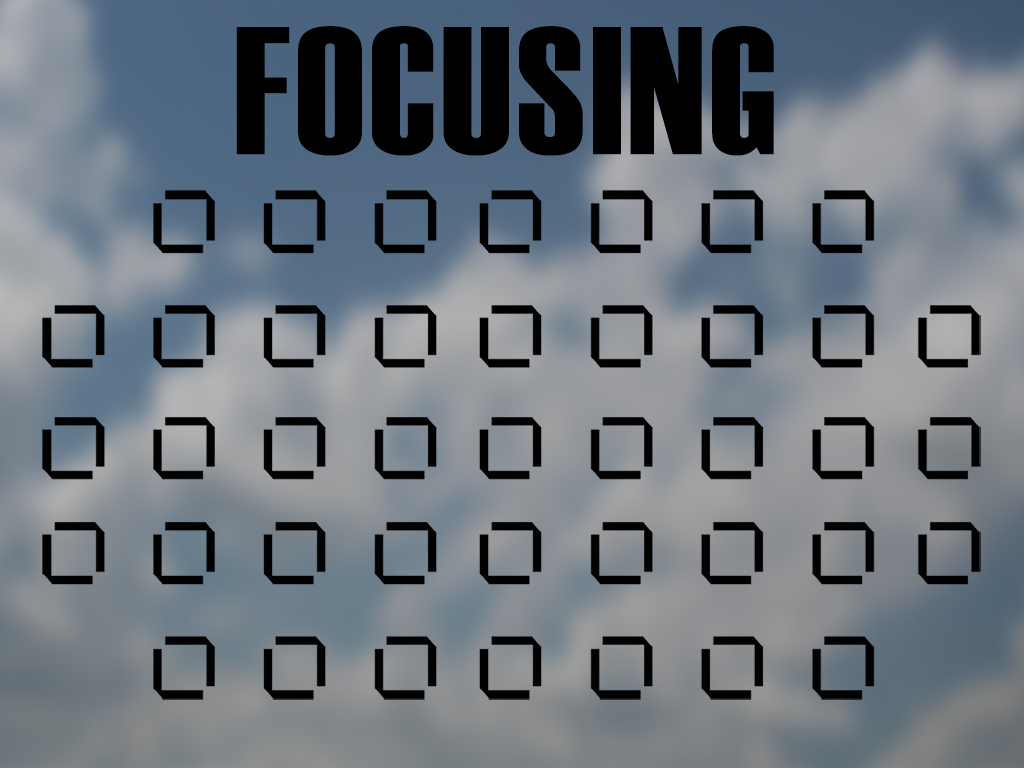
Blurring from movement is handled by shutter speed... but mis-focusing happens a lot as well.
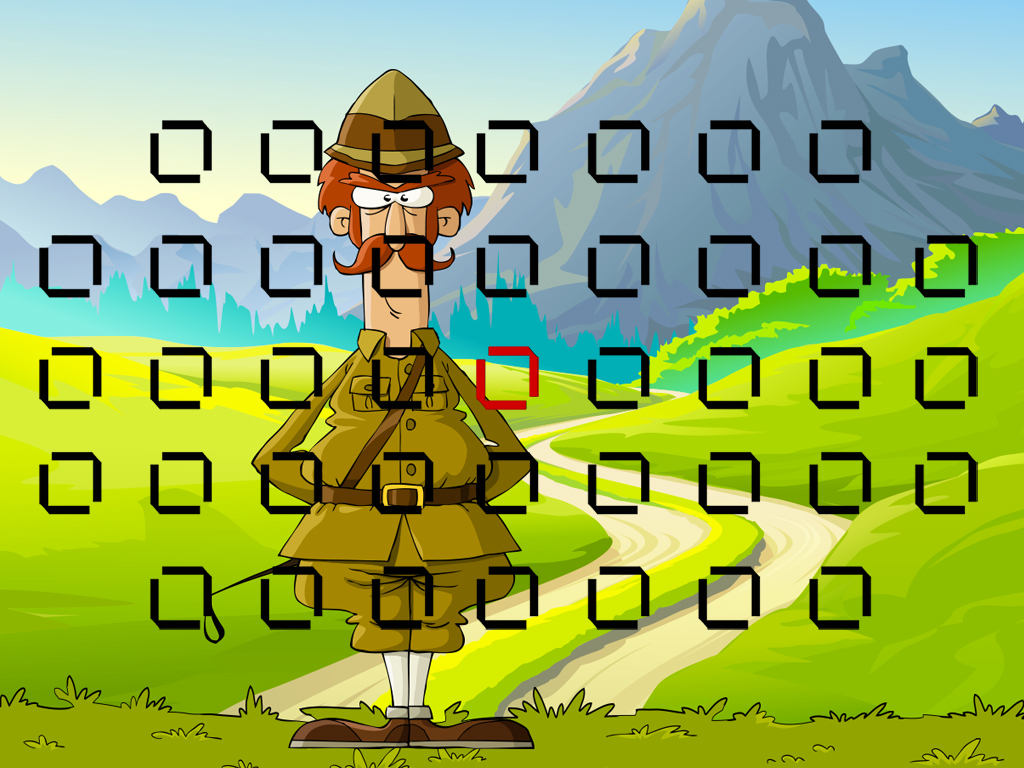
Not being aware of where your focus point is can lead to missing the shot. Understand how to move the focus points and make sure you don't miss your subject even by a little.

Understand that your camera has two types of focusing. One shot = lock focus and hold. Servo = lock focus and follow movement. Using the wrong one may have your camera changing focus at the wrong time.

Unless you are shooting in manual mode, the camera is reading the scene and making exposure settings for you. If the exposure looks wrong it is because the camera is reading too much of the scene, or the scene has too much contrast.
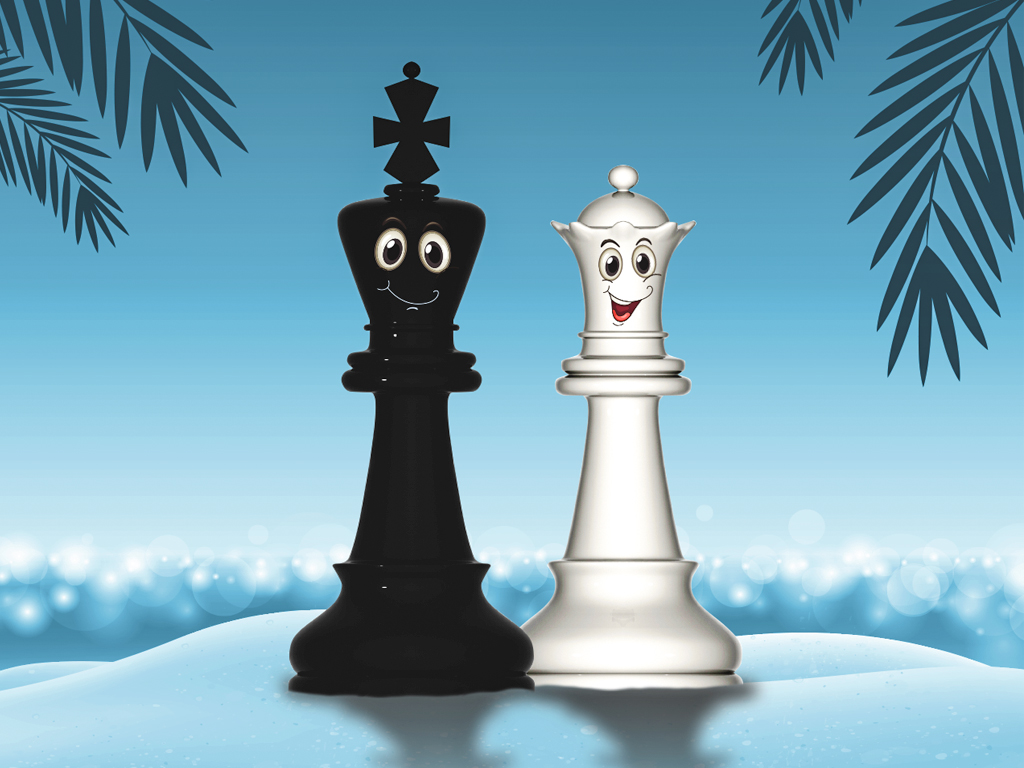
You want to take a picture of a bride and groom. He is in black and she is in white. The exposure can be all over the place if you don't know what is going on.

If the Bride is the main part of the picture the camera may think things are too bright and darken the exposure.
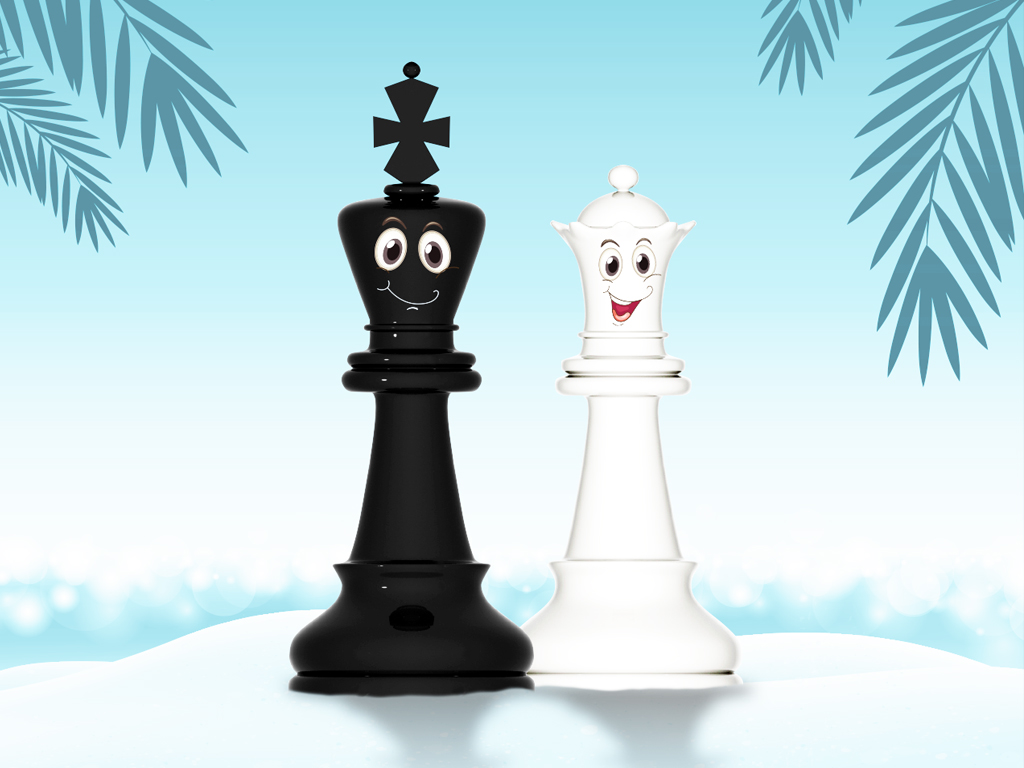
If the Groom is the main part of the picture the camera may think things are too dark and brighten the exposure.
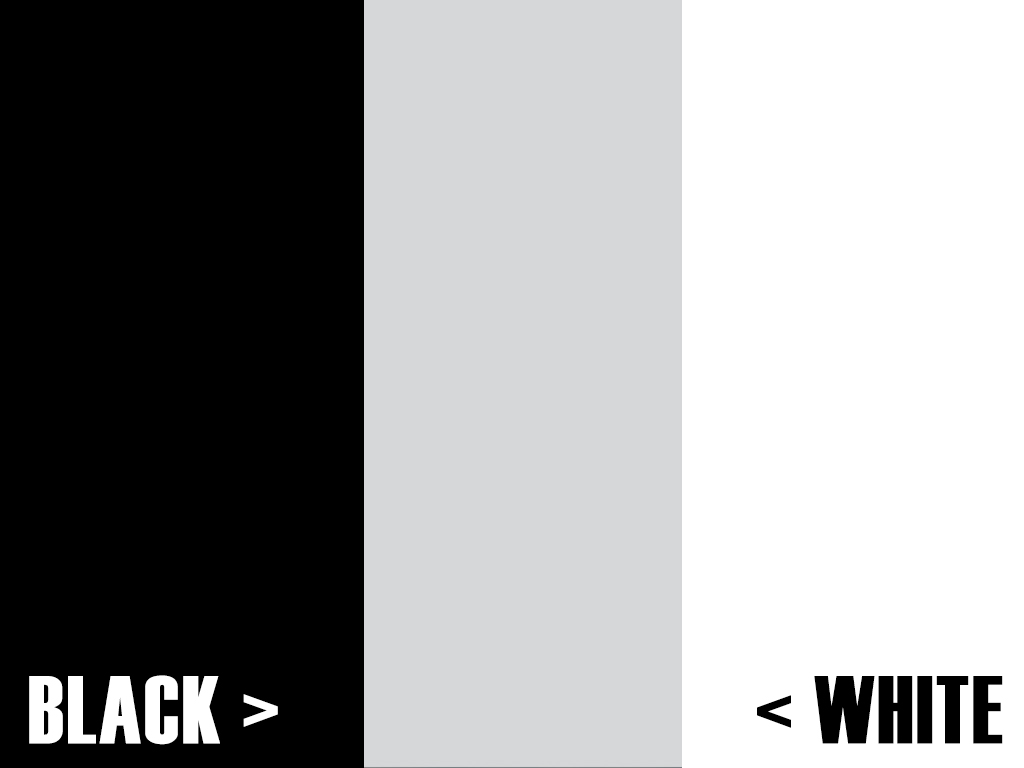
The camera is trying to average the scene to equal 18% gray. (There is a long explanation why.) When it sees too much white or black it tries to turn them gray. That is why if you take a picture of a person in front of a bright sky, the person will either be a shadow or the sky will be white. The camera has to guess which one to expose for unless you tell it.
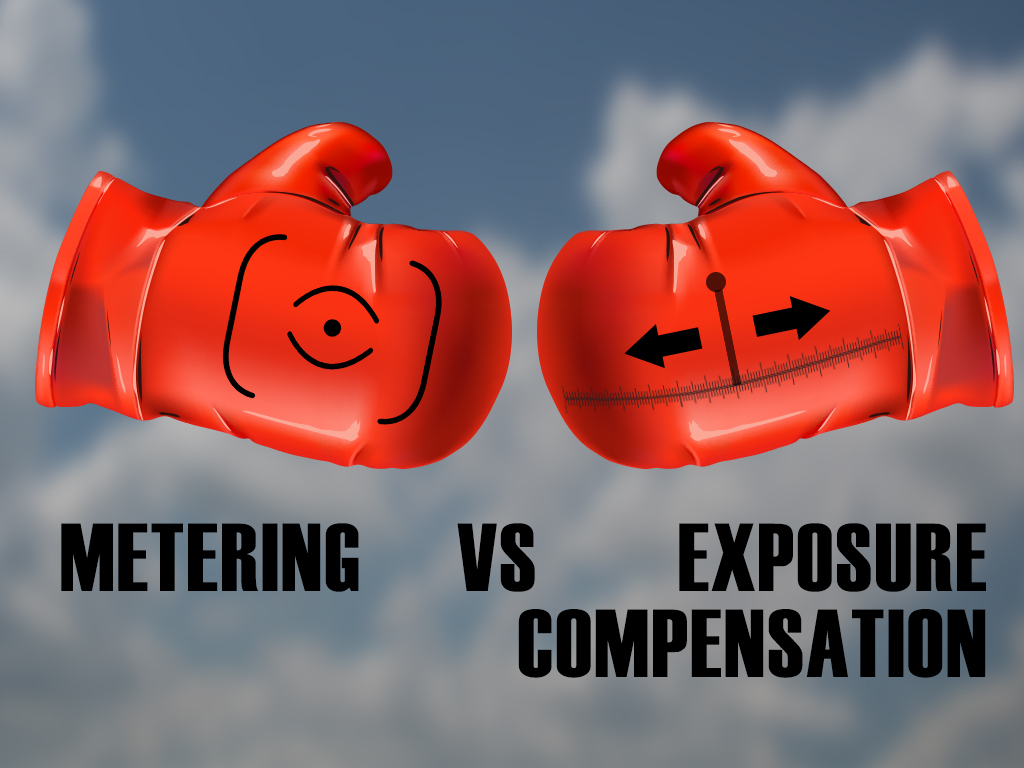
Metering tells the camera where to look. Exposure compensation sees that the image is too light or dark and tells the camera to adjust the next one to look better.
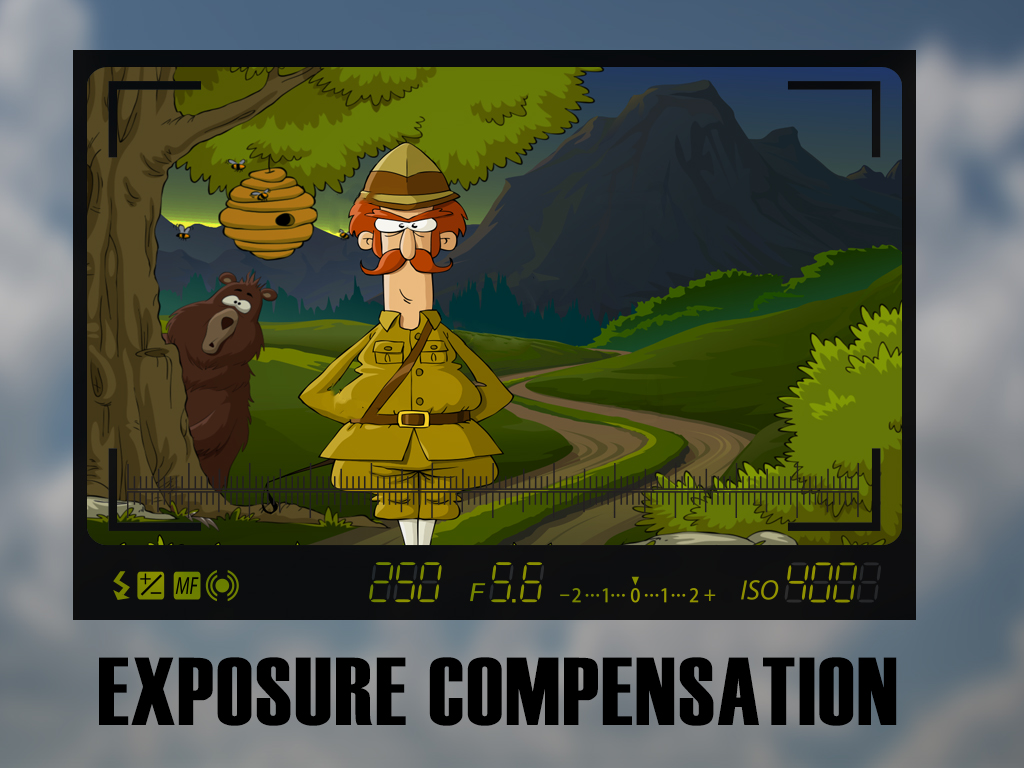
If you shoot a field of snow, the camera will think it is too bright and turn the snow gray. If you know how the camera thinks you can adjust it to shoot darker or lighter.
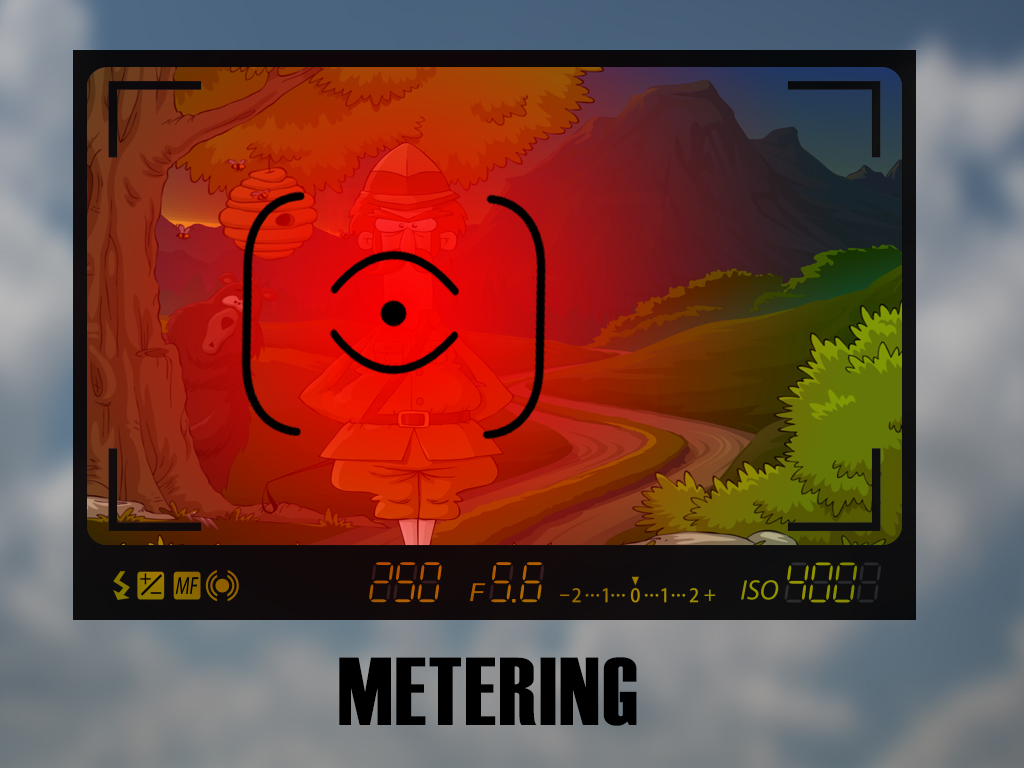
Metering tells the camera where to look to determine the amount of light in the scene.

Evaluative is usually what most cameras start out being set to.

Evaluative: averages the light in the whole scene, but puts more weight on the area around the main focus point. Works well for most scenes.
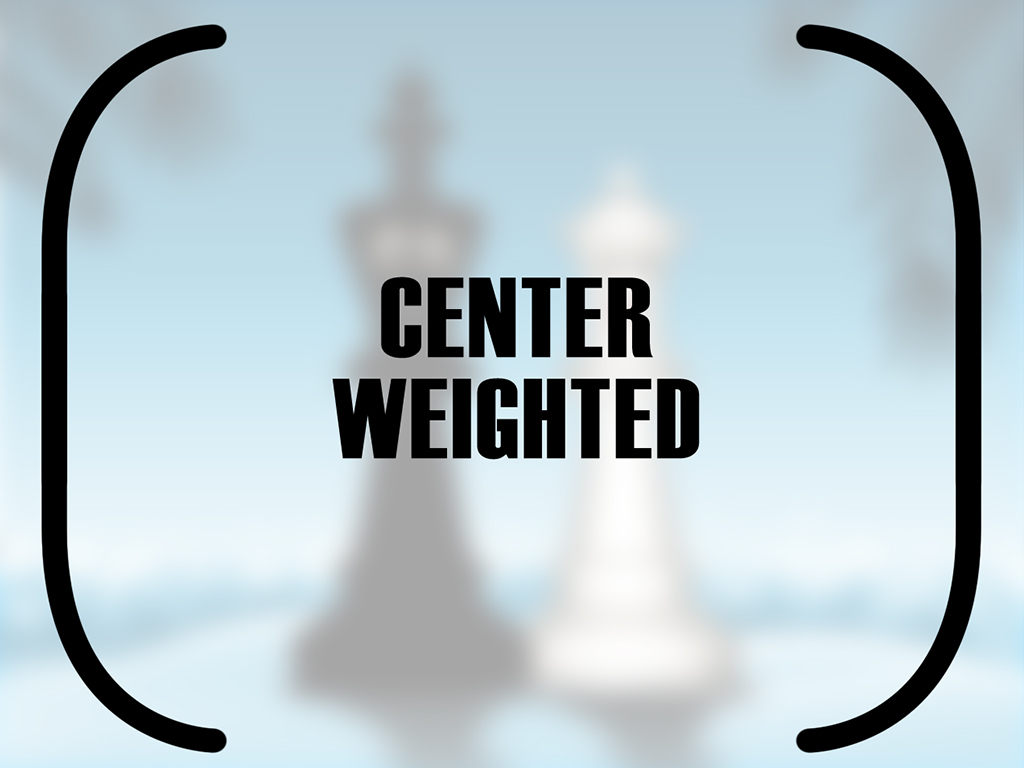
Center-weighted is the icon with just the brackets on the side.

Center-weighted puts most of the exposure metering in the center of the frame
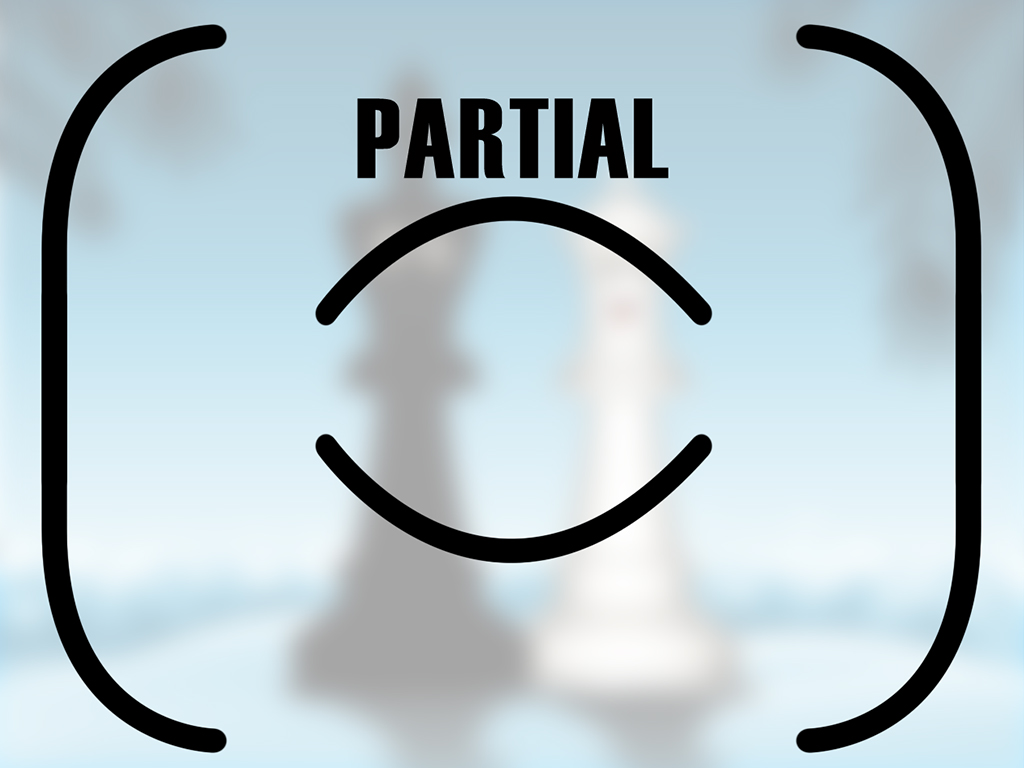
Partial is seen as the icon with side brackets and a center bracket icon... usually vertical or arches

Partial is like center-weighted, but even tighter in its metering
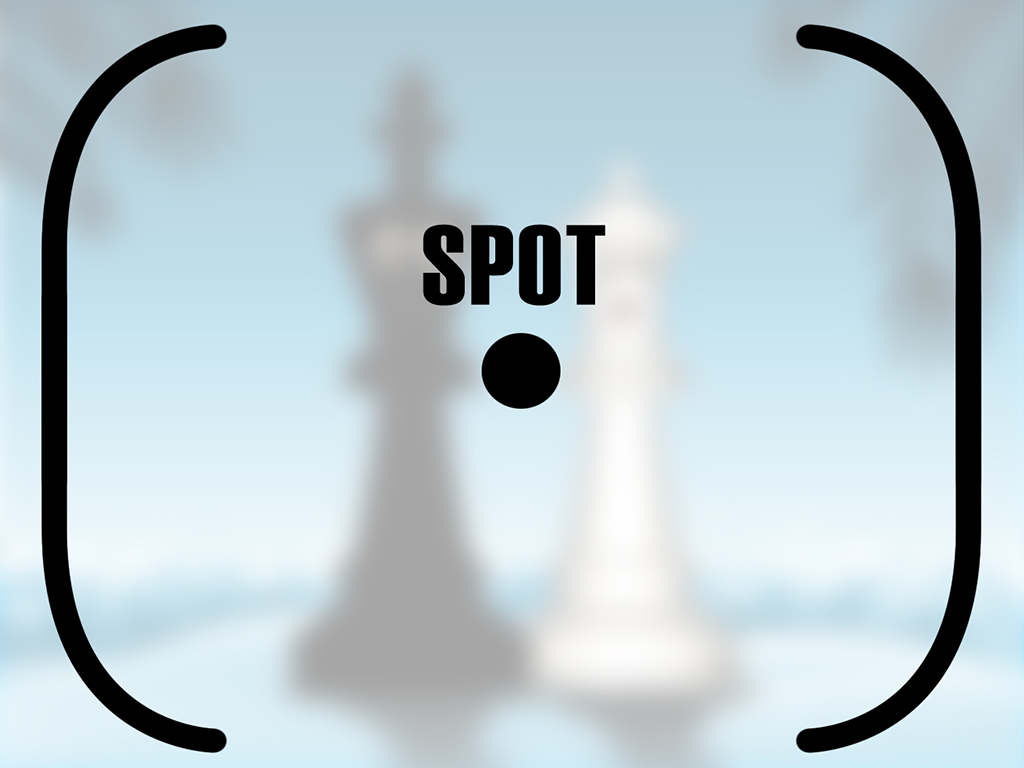
Spot is shown as just a single dot icon.
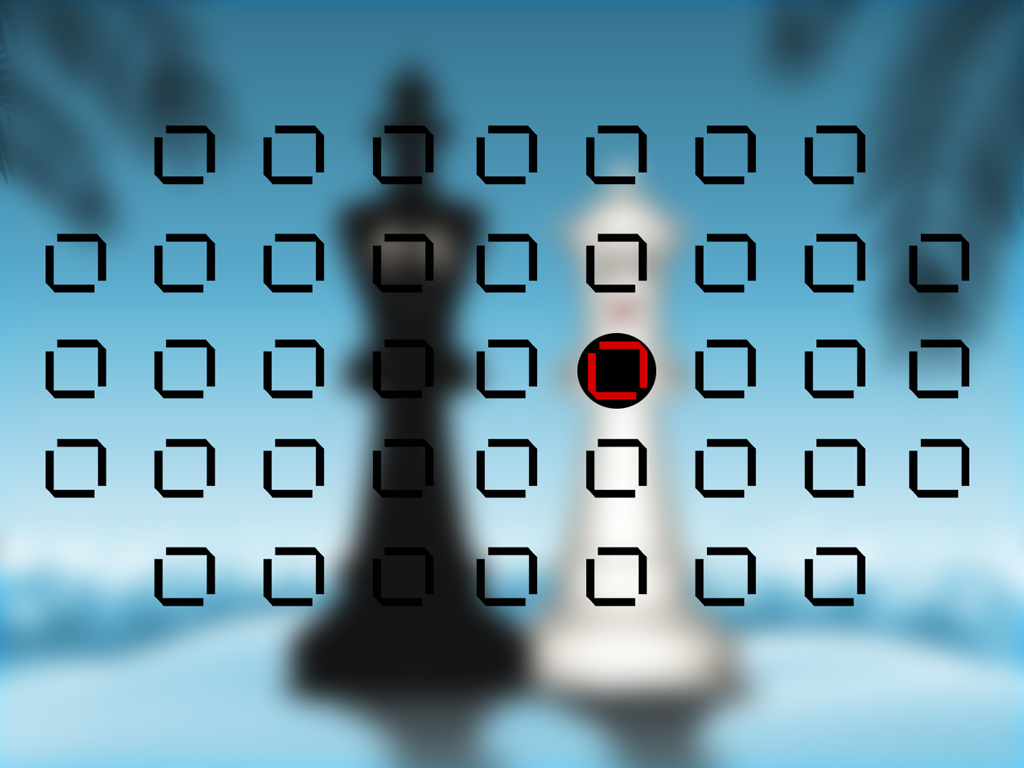
Spot meters on just the focus point spot and ignores the rest of the scene. This is very helpful with portraits and brides' dresses to make sure to expose for the faces or the dress.
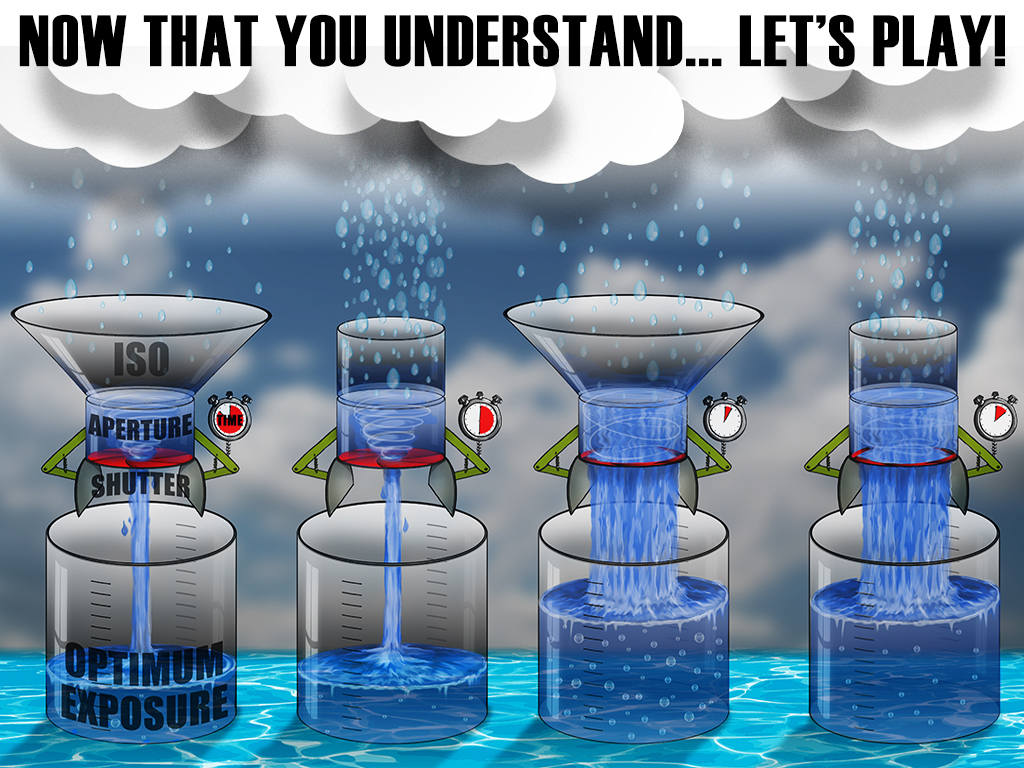
So now that you understand the camera balancing act... ISO, Aperture, Shutter speed, and how proper metering can really make a difference... let's look at some examples for fun.
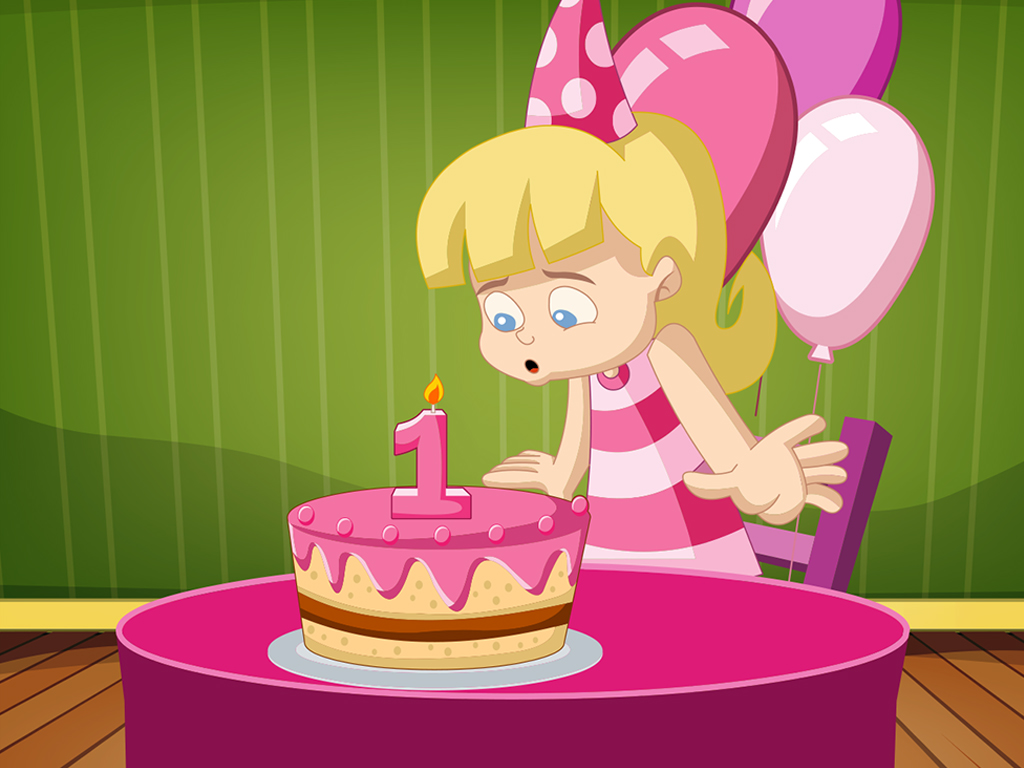
Birthday party: Medium light and you want to show all the action. Higher aperture to show whole room, but means you need to raise ISO to get a shutter speed fast enough to freeze action. At least 1/50.
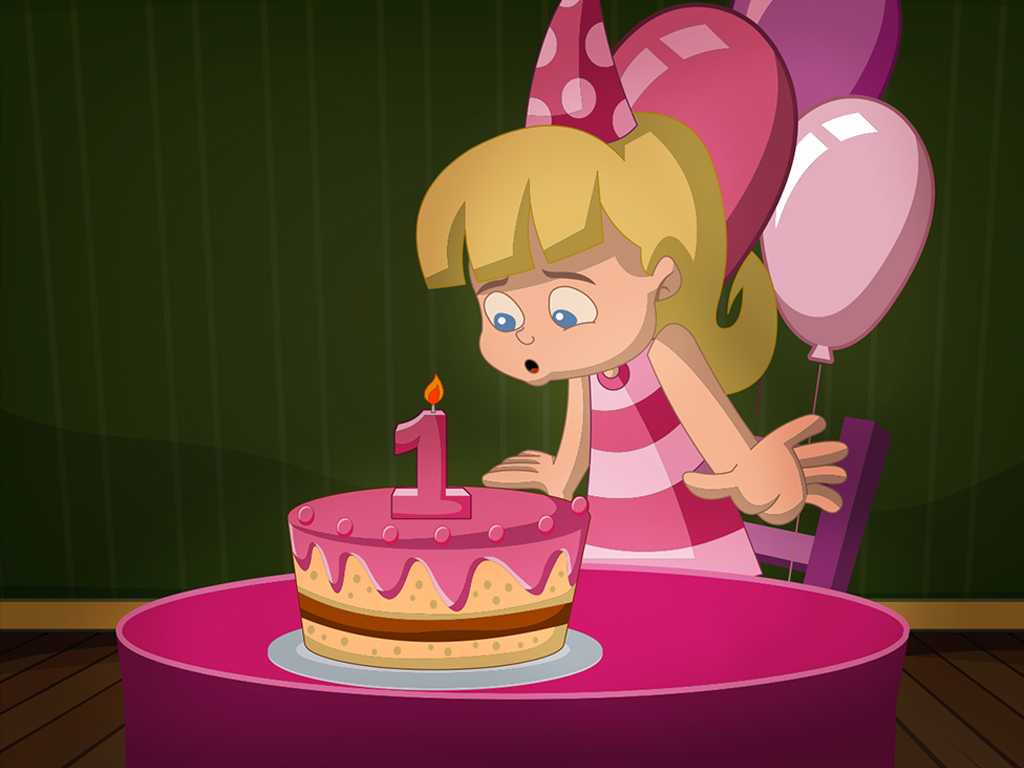
Birthday party low light: Focus on the face of the girl (spot metering maybe) and use a small aperture to eliminate distractions in the room. Will probably need to crank up your ISO to make sure your shutter speed is fast enough to freeze action. Hand held at least 1/50.
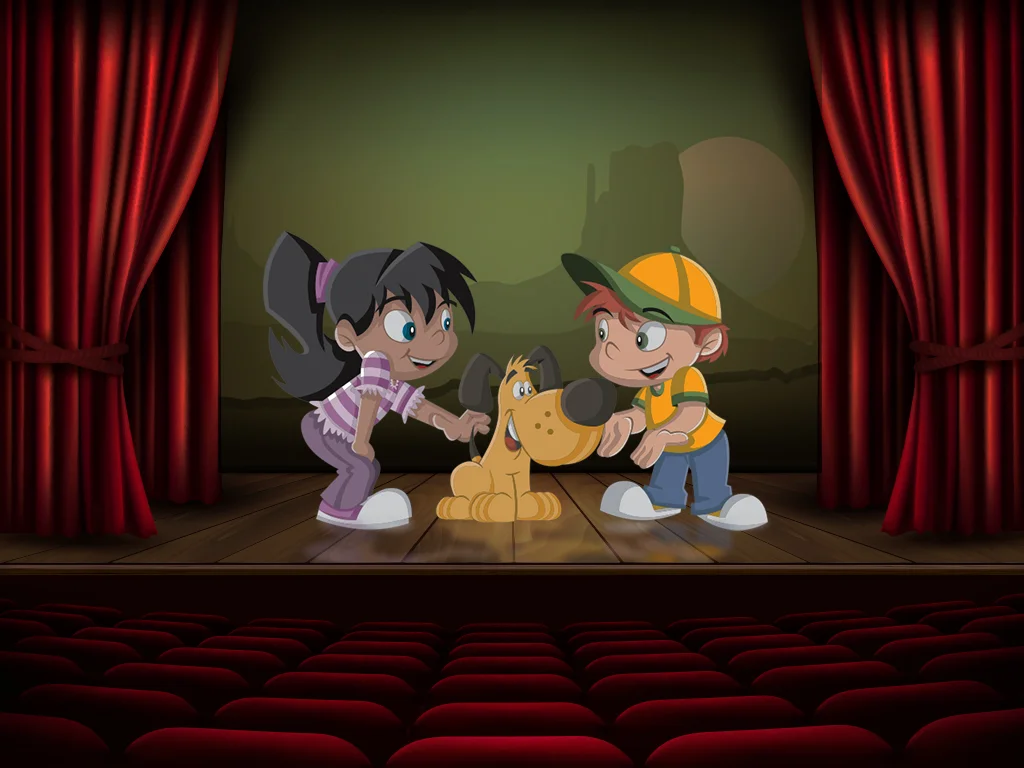
Kid's play with low lighting: Main concern... enough light to freeze. High ISO, medium to low aperture to focus on kids, but help with the amount of light needed and if there is any action at least 1/125 shutter speed.
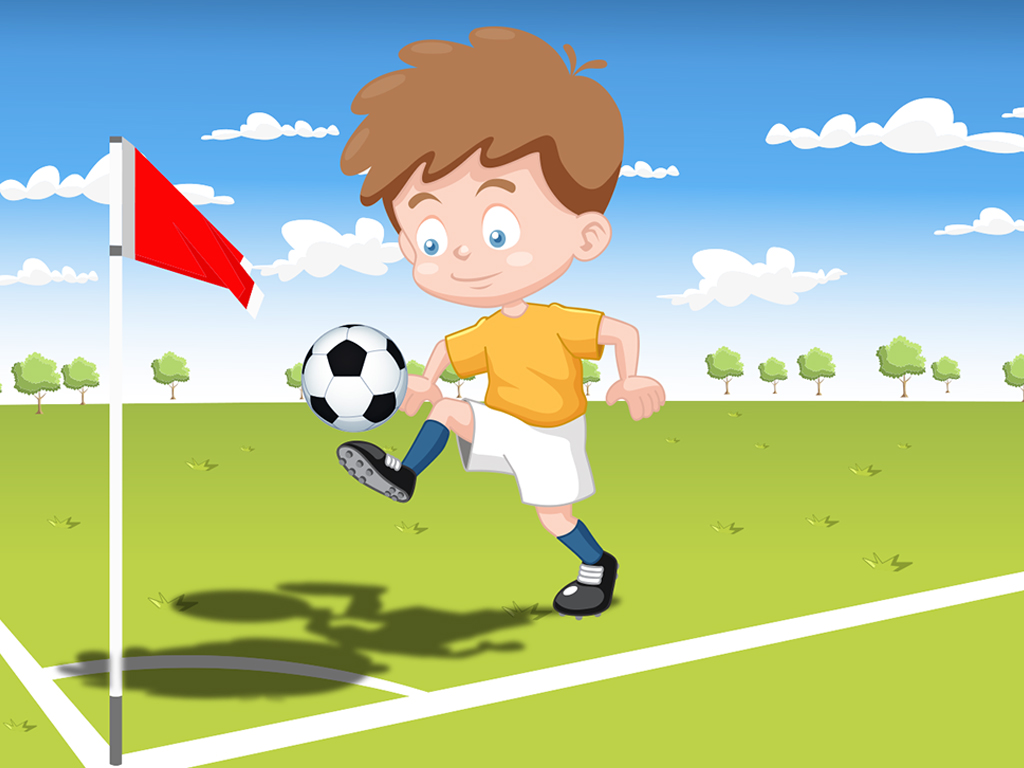
Soccer bright day: Main concern... plenty of light so play with aperture to change look of DOF. Very low ISO, fast shutter speed to freeze action at least 1/500 or faster. Aperture up to you. (Lower aperture usually always looks better)
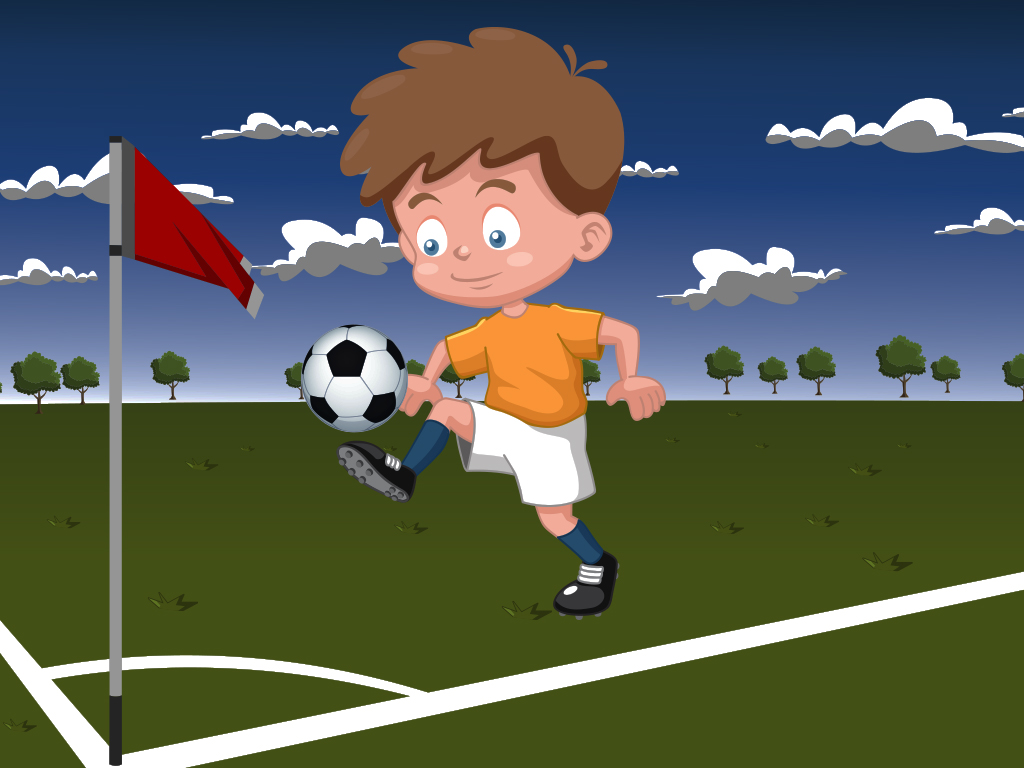
Soccer low light. Night game... Main concern... enough light to freeze action. High ISO (high as you can go without it becoming too noisy) Lowest aperture number (widest opening) to let in the most light to make sure you can get the right shutter speed. At least 1/500.
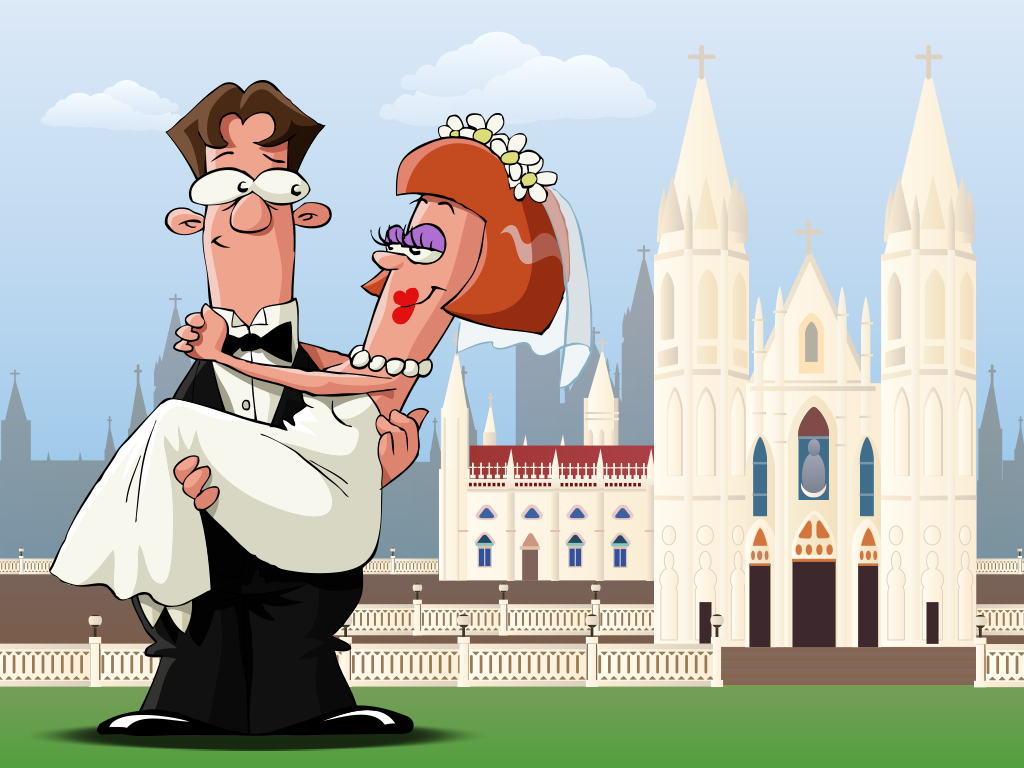
Bride in sun: Main concern: exposing the dress to get the details and not blow them out. Set for spot metering on the dress and then use Exposure compensation to brighten the dress from gray to white. Low ISO, Motion isn't really an issue... DOF will set the mood.
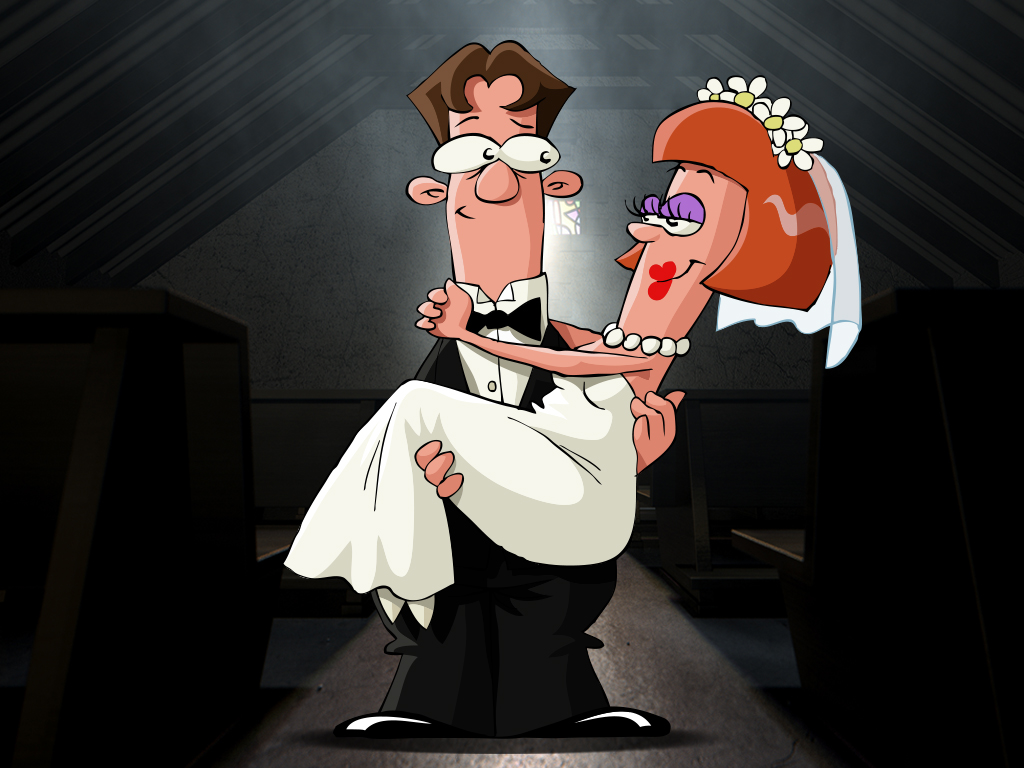
Bride in dark church: Main concern: enough light to show dress details. High ISO so you can set a fast enough shutter speed... at least 1/50th or faster. Usually shallow DOF so low aperture f2.8 etc, and spot meter for face or dress and maybe exposure compensation after test shot.
